Handmade Pumpkin!
How I made a paper mache pumpkin and painted it to match my Field of Flowers Textile!
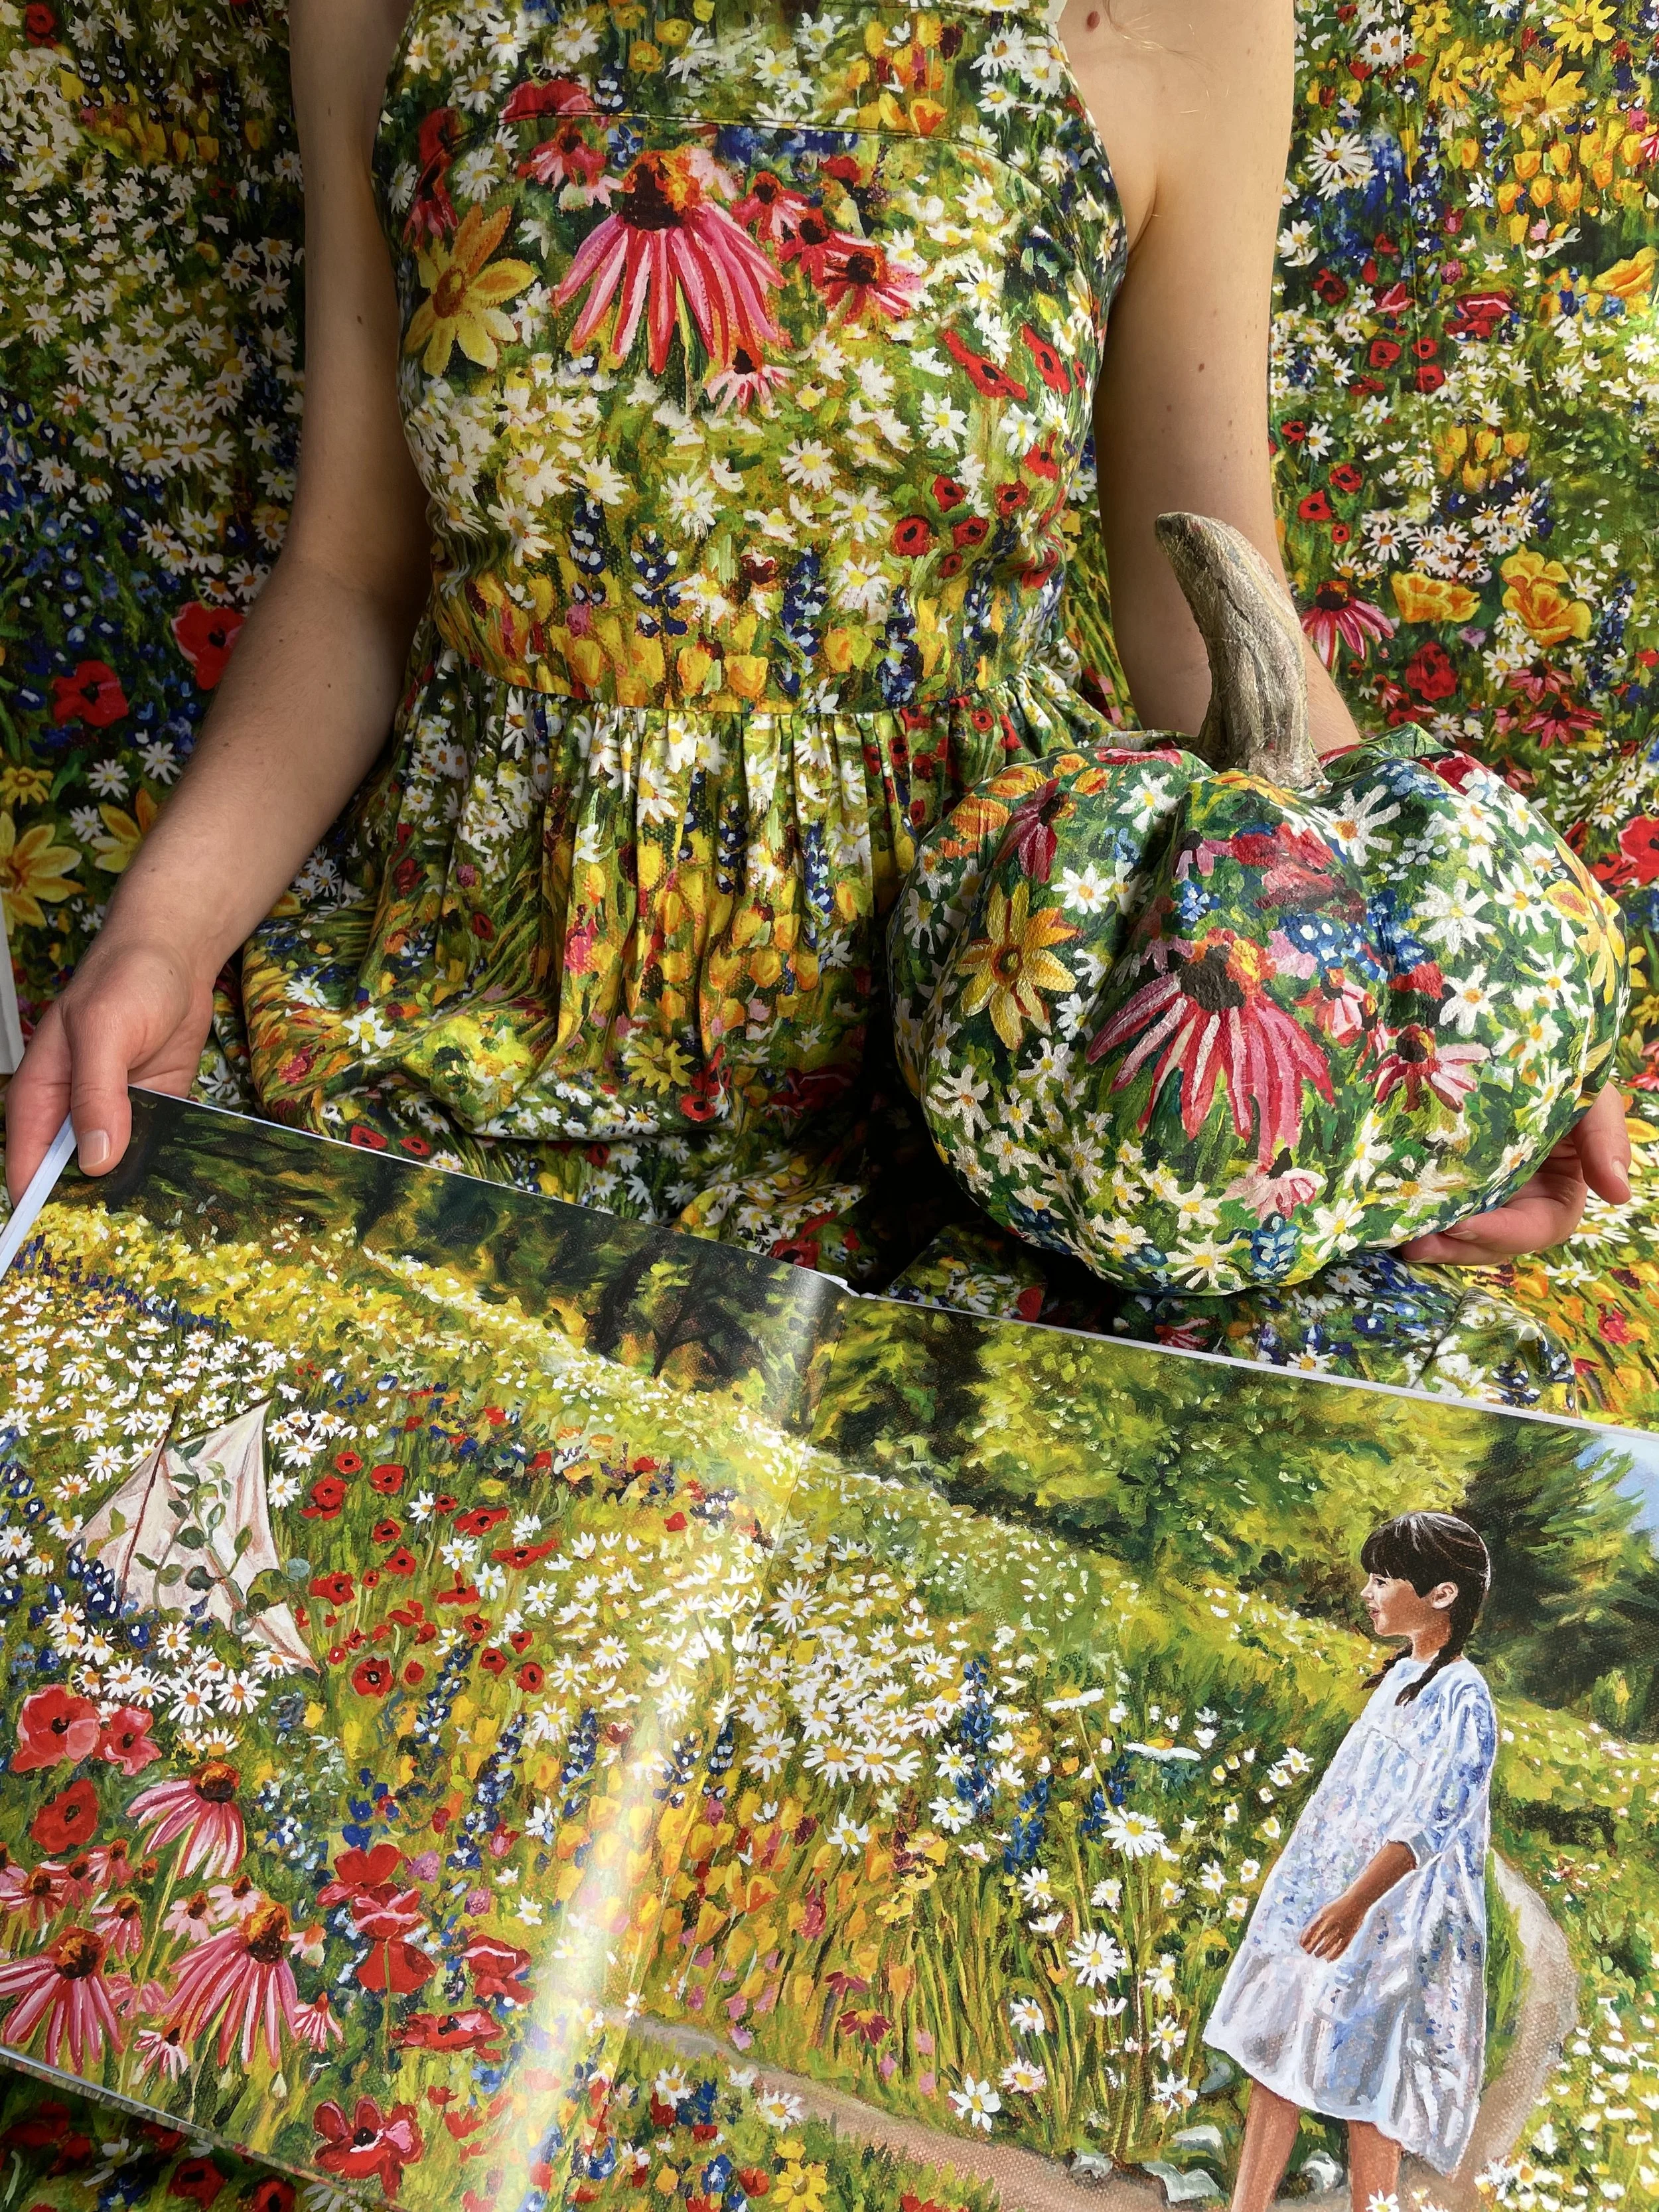
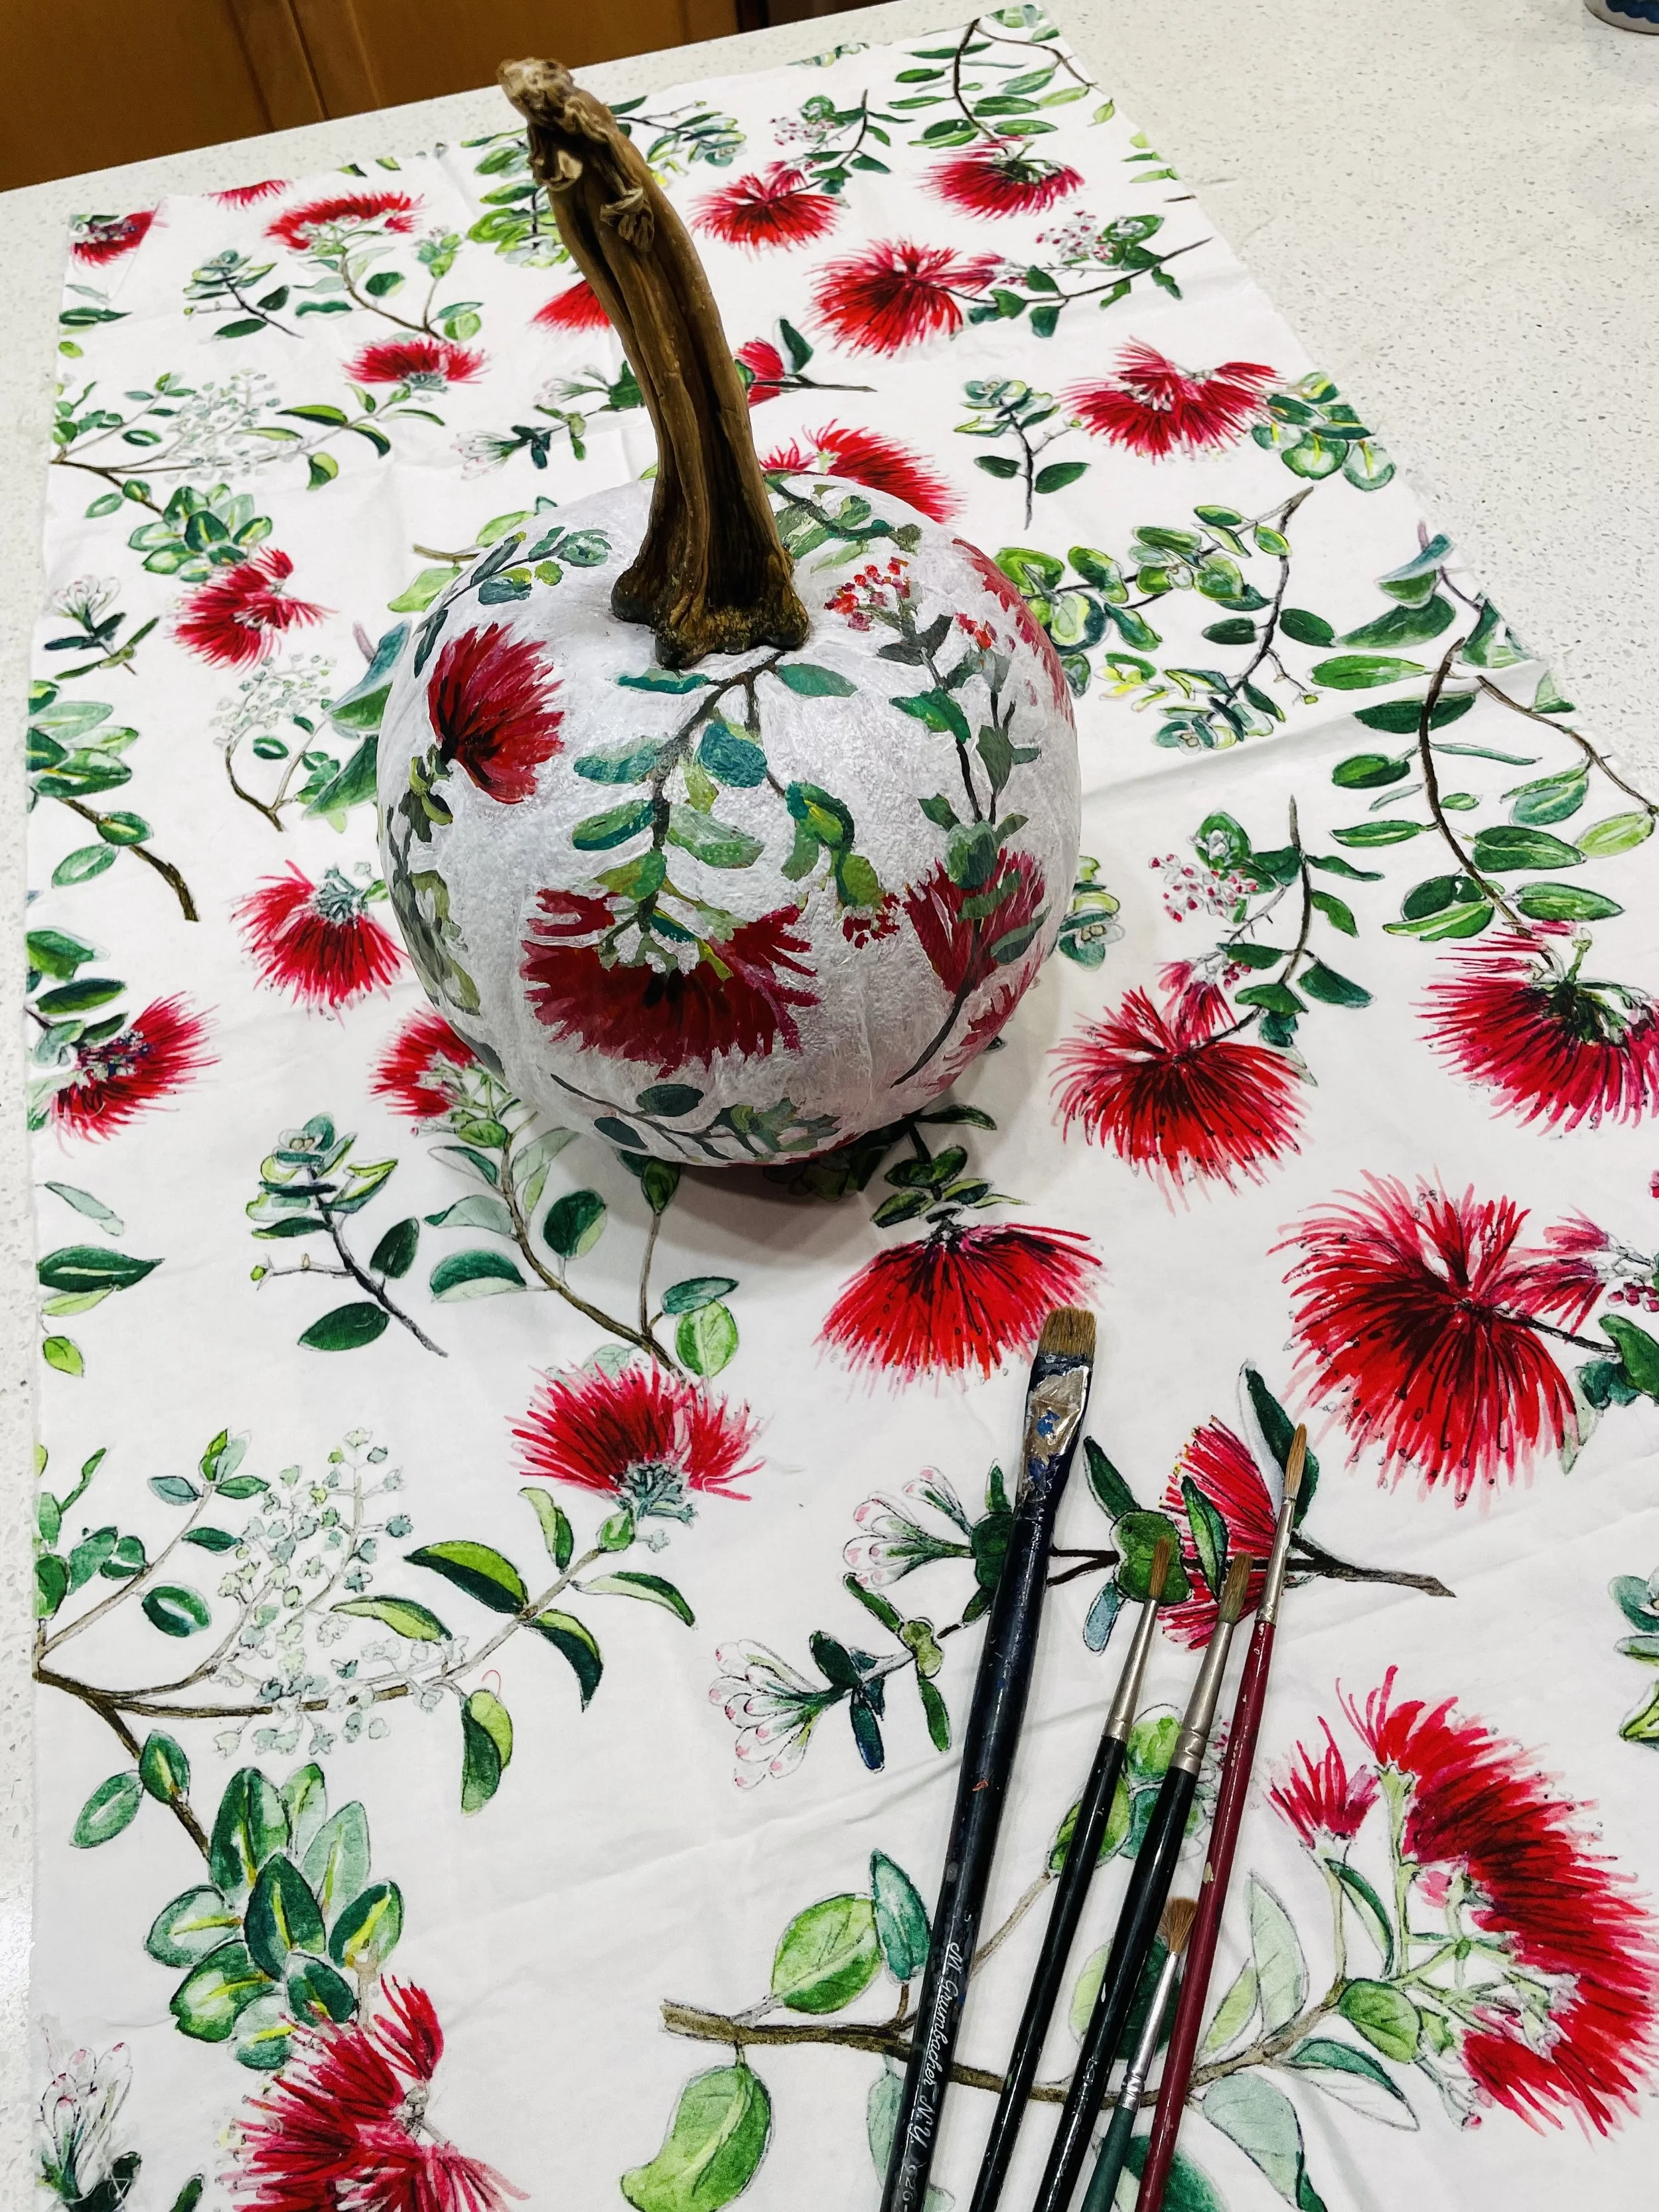
I don’t know why I’m so obsessed with painting pumpkins but I think it’s so interesting to see a painting curving around the organic shape and the stem breaks the fourth wall. I’ve painted pumpkins for several years now and last year I was particularly attached to my Field of Flowers Textile pumpkin and it was sad to see it rot. I wanted to make one this year that would last forever, so I paper mached a pumpkin to paint. I’m so thrilled that I’ll be able to enjoy it year after year! And hopefully I will make a new one each year to build a collection!
How I did it:
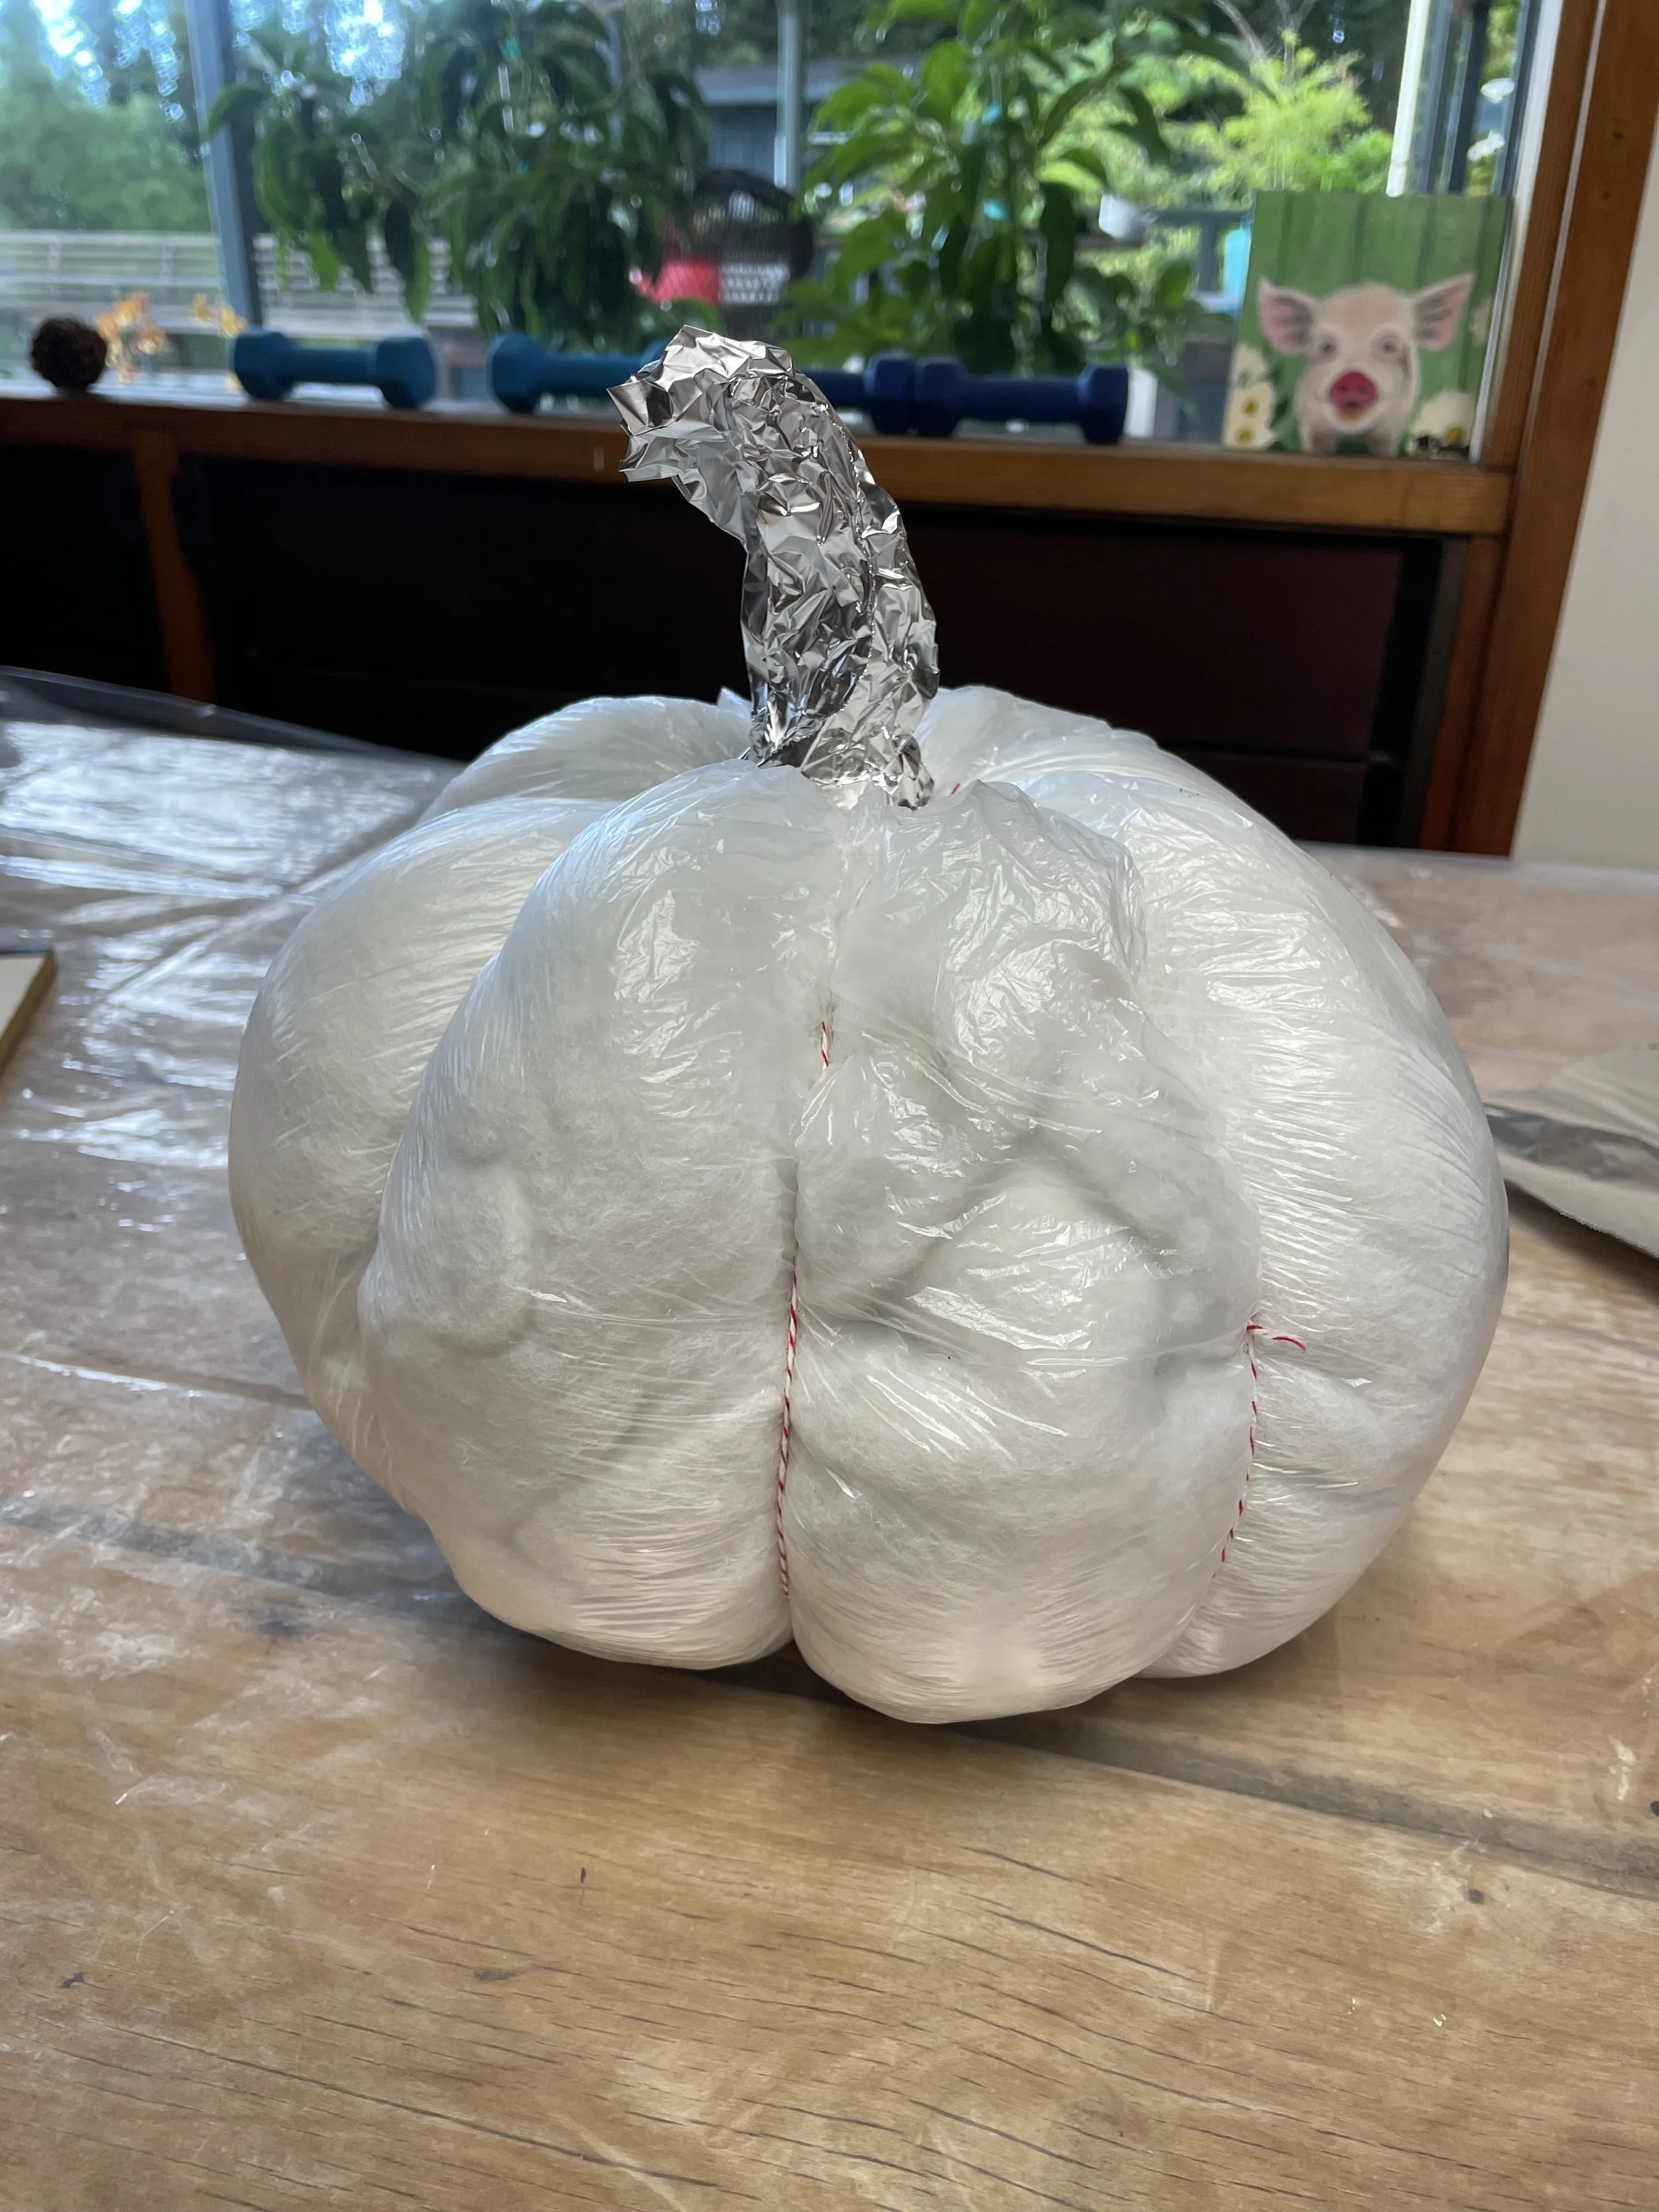
1) Stuffed a trash bag with old pillow stuffing. Tied knot in bag to make a stem. Tied 4 strings around the bag to make the grooves of the pumpkin

2) Added foil to the stem to shape it.
3) Popped the bag at each ridge to shove in some crumpled paper towels to build up the ridges. (Not necessary but I wanted it to have more defined mountains and valleys!)
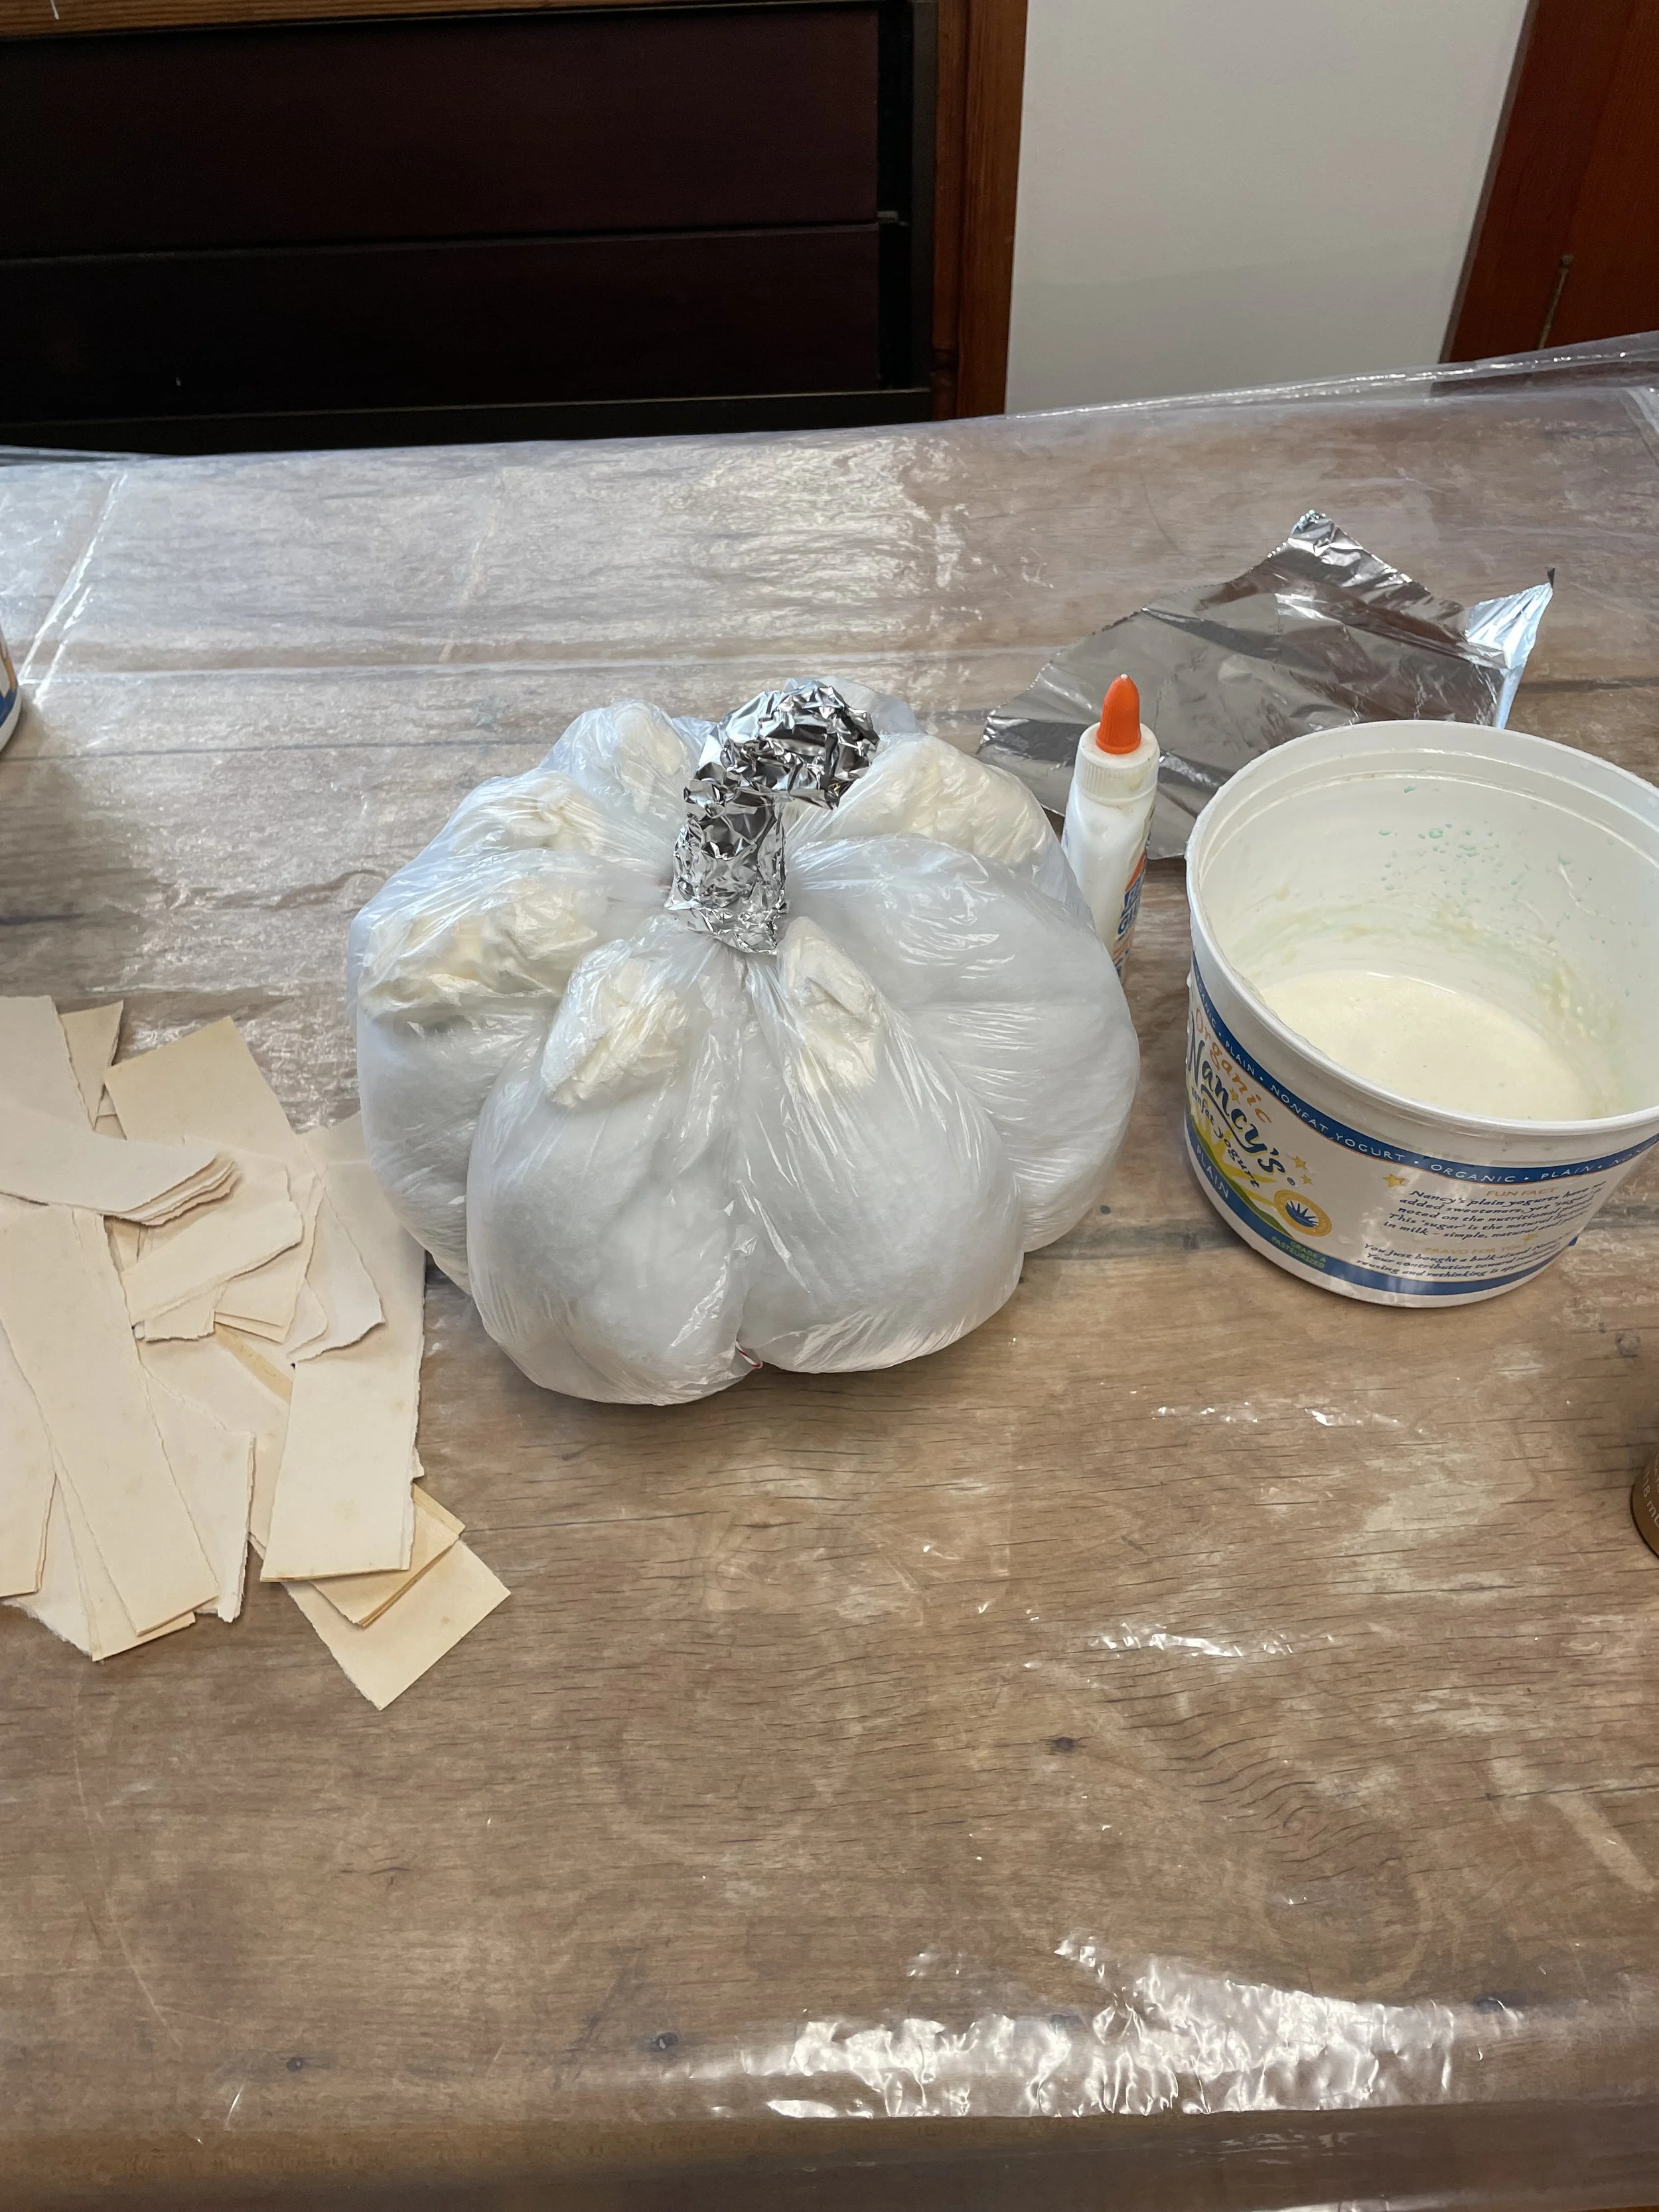
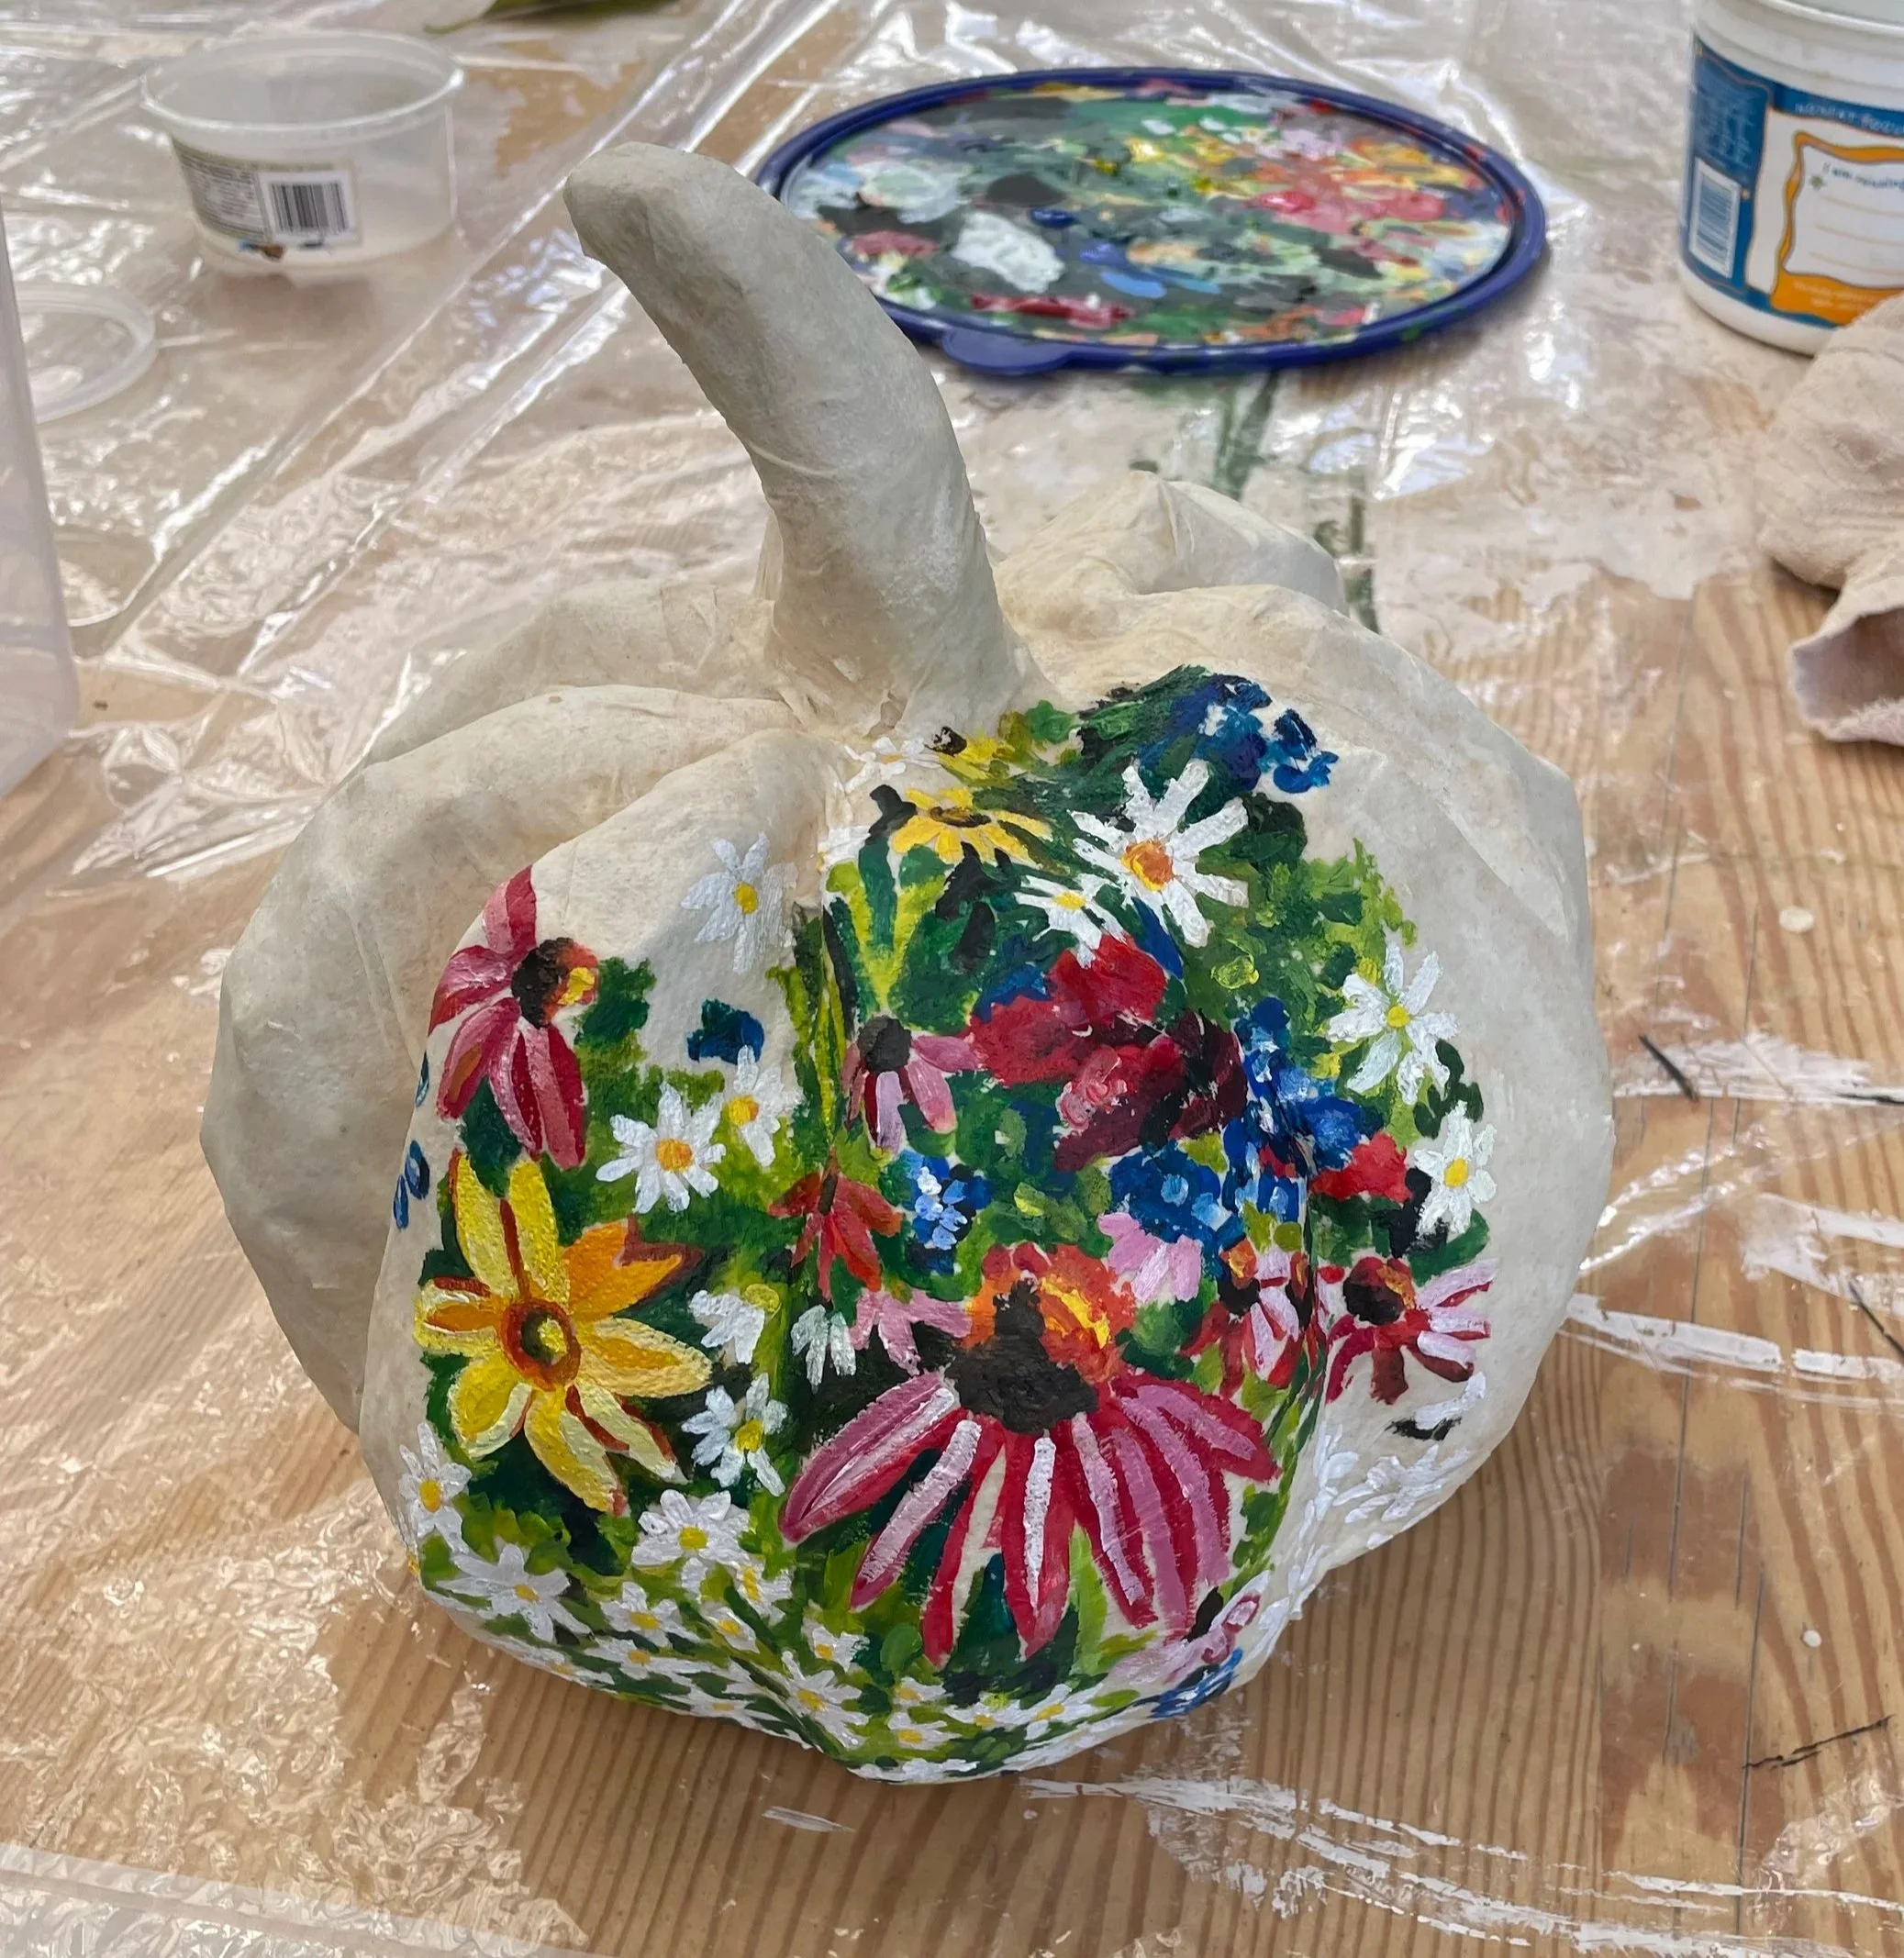
4) Prepared the paper mache paste and paper strips. For the paste, I mixed hot water, glue, white flour and a bit of salt. I used torn newsprint for the first two layers of paper mache. Layer one was rough but built a foundation.
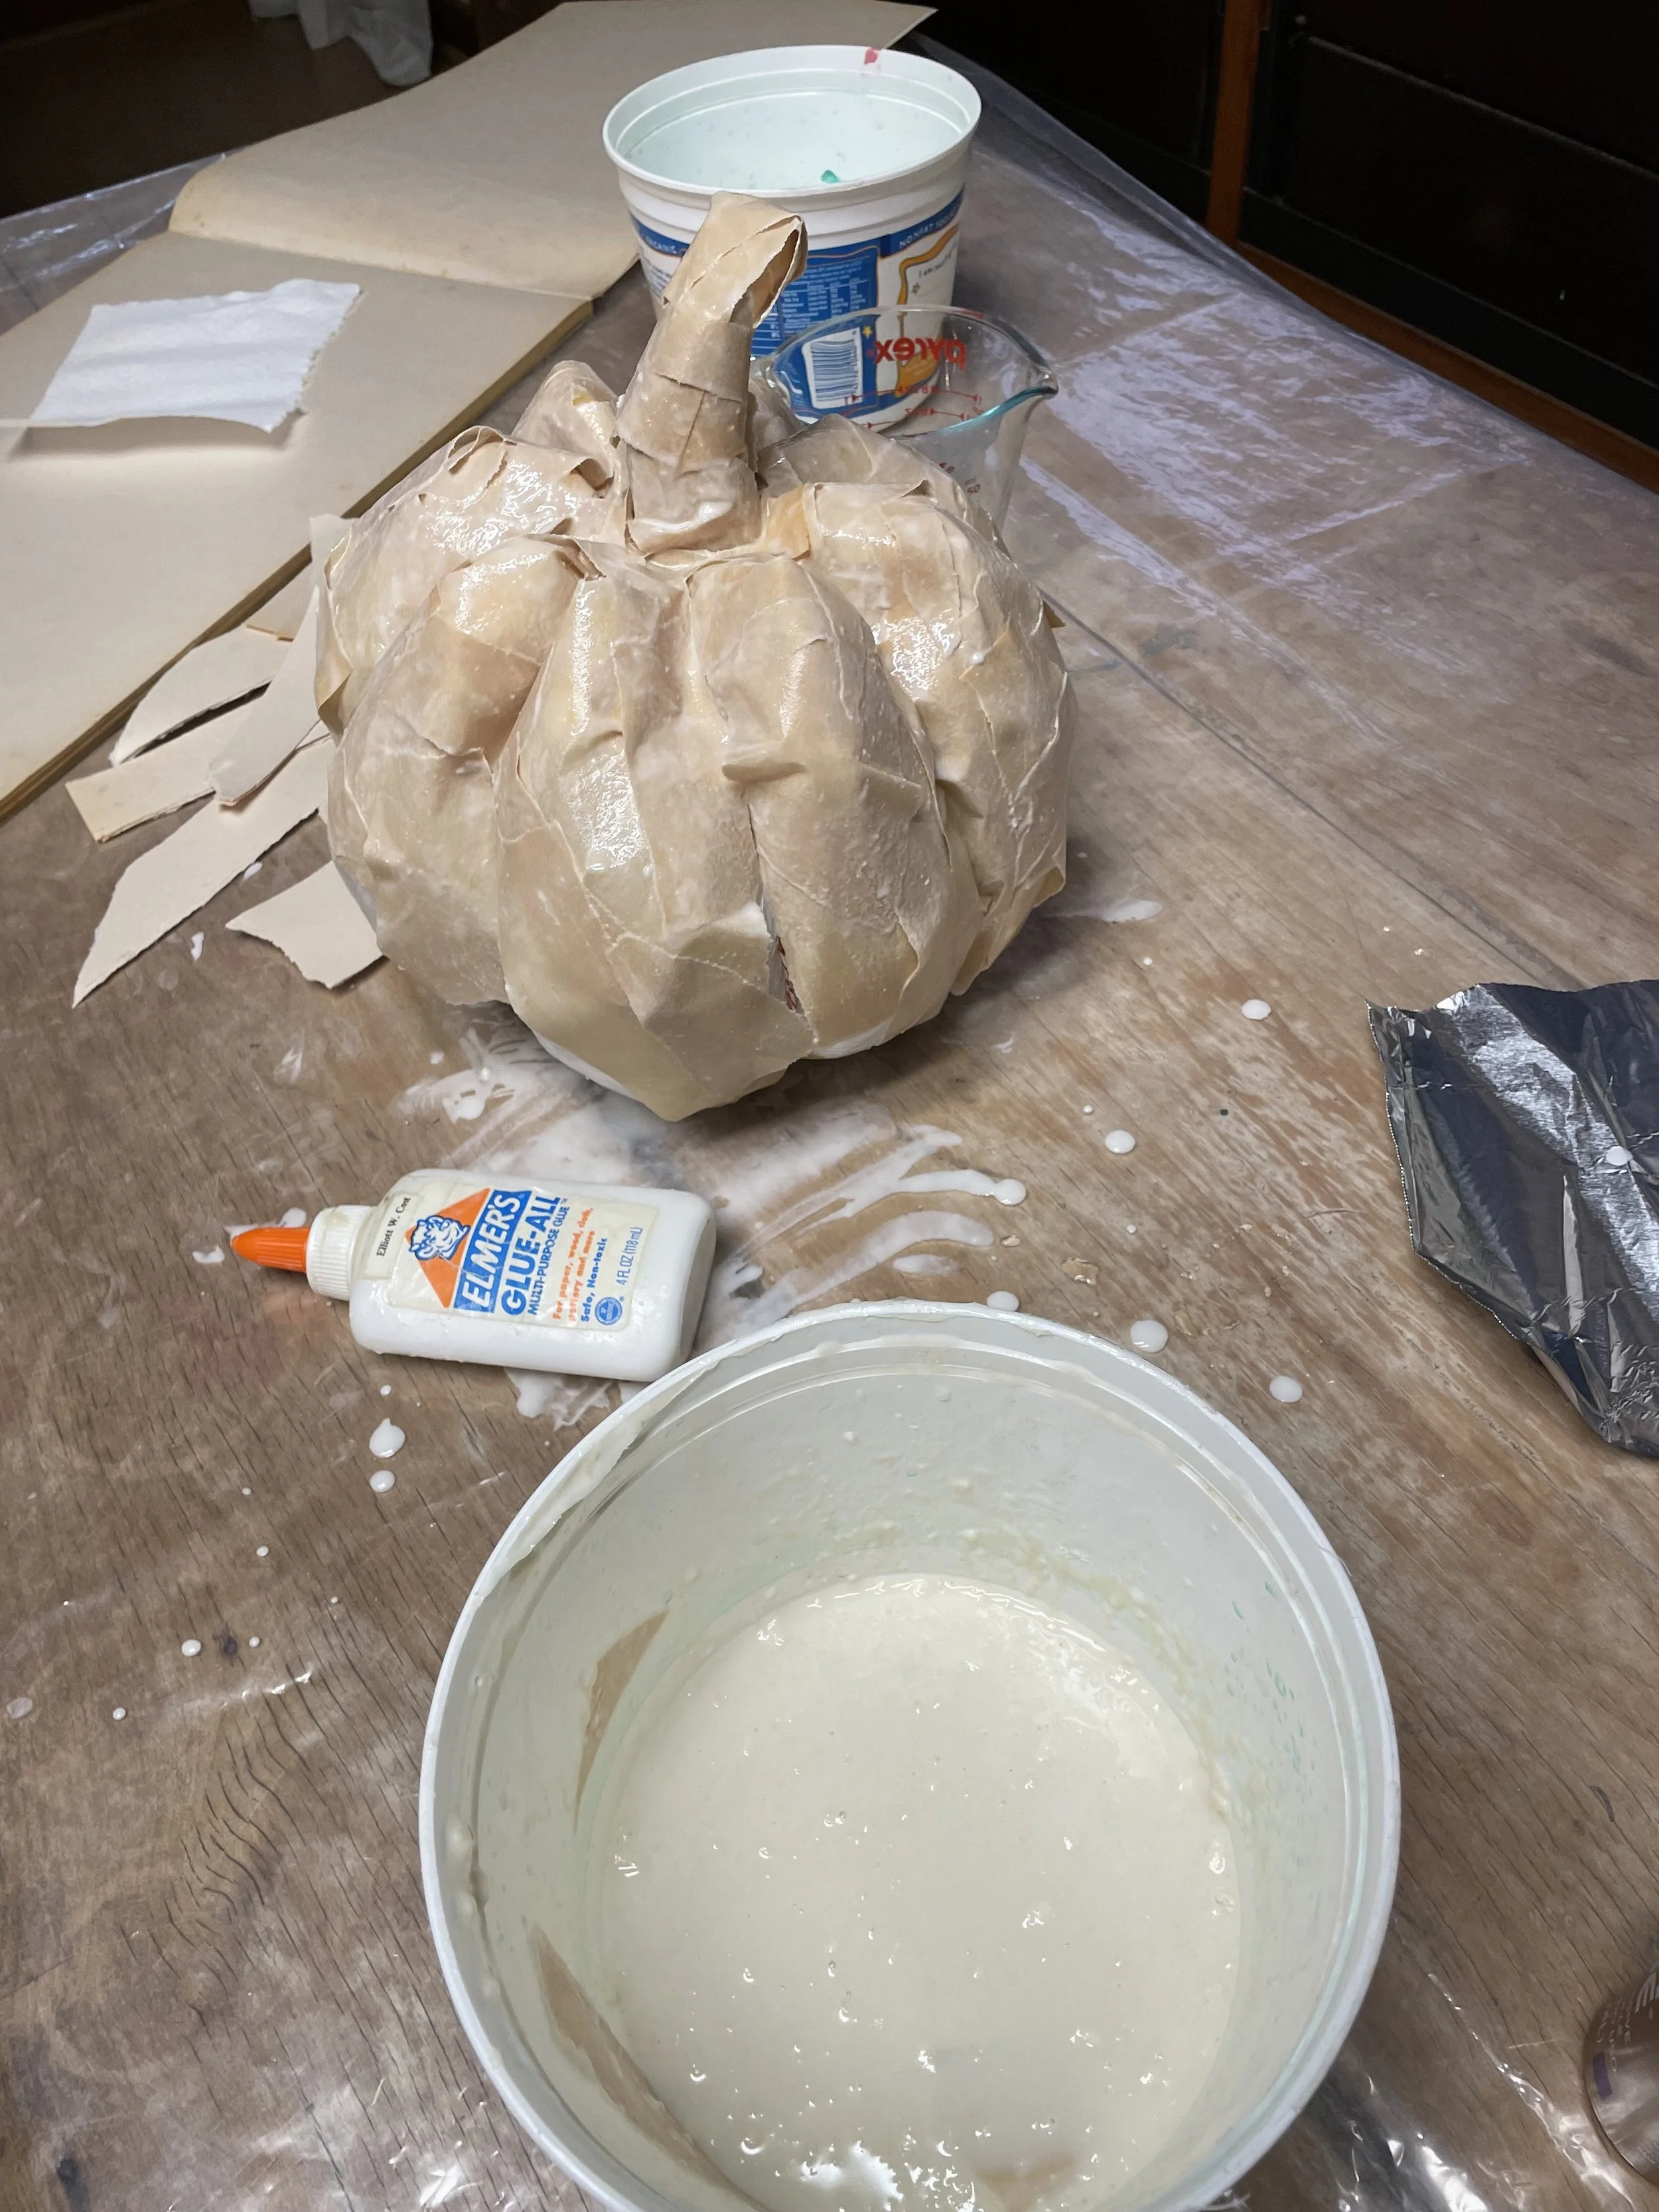
5) After letting it fully dry, I did another layer of paper mache with newsprint. The newsprint went on a little smoother and easier in the second layer, but still had rough edges. The shape got stronger.
6) After letting it fully dry again, I used torn paper towels for the third layer, which smoothed out all the edges.

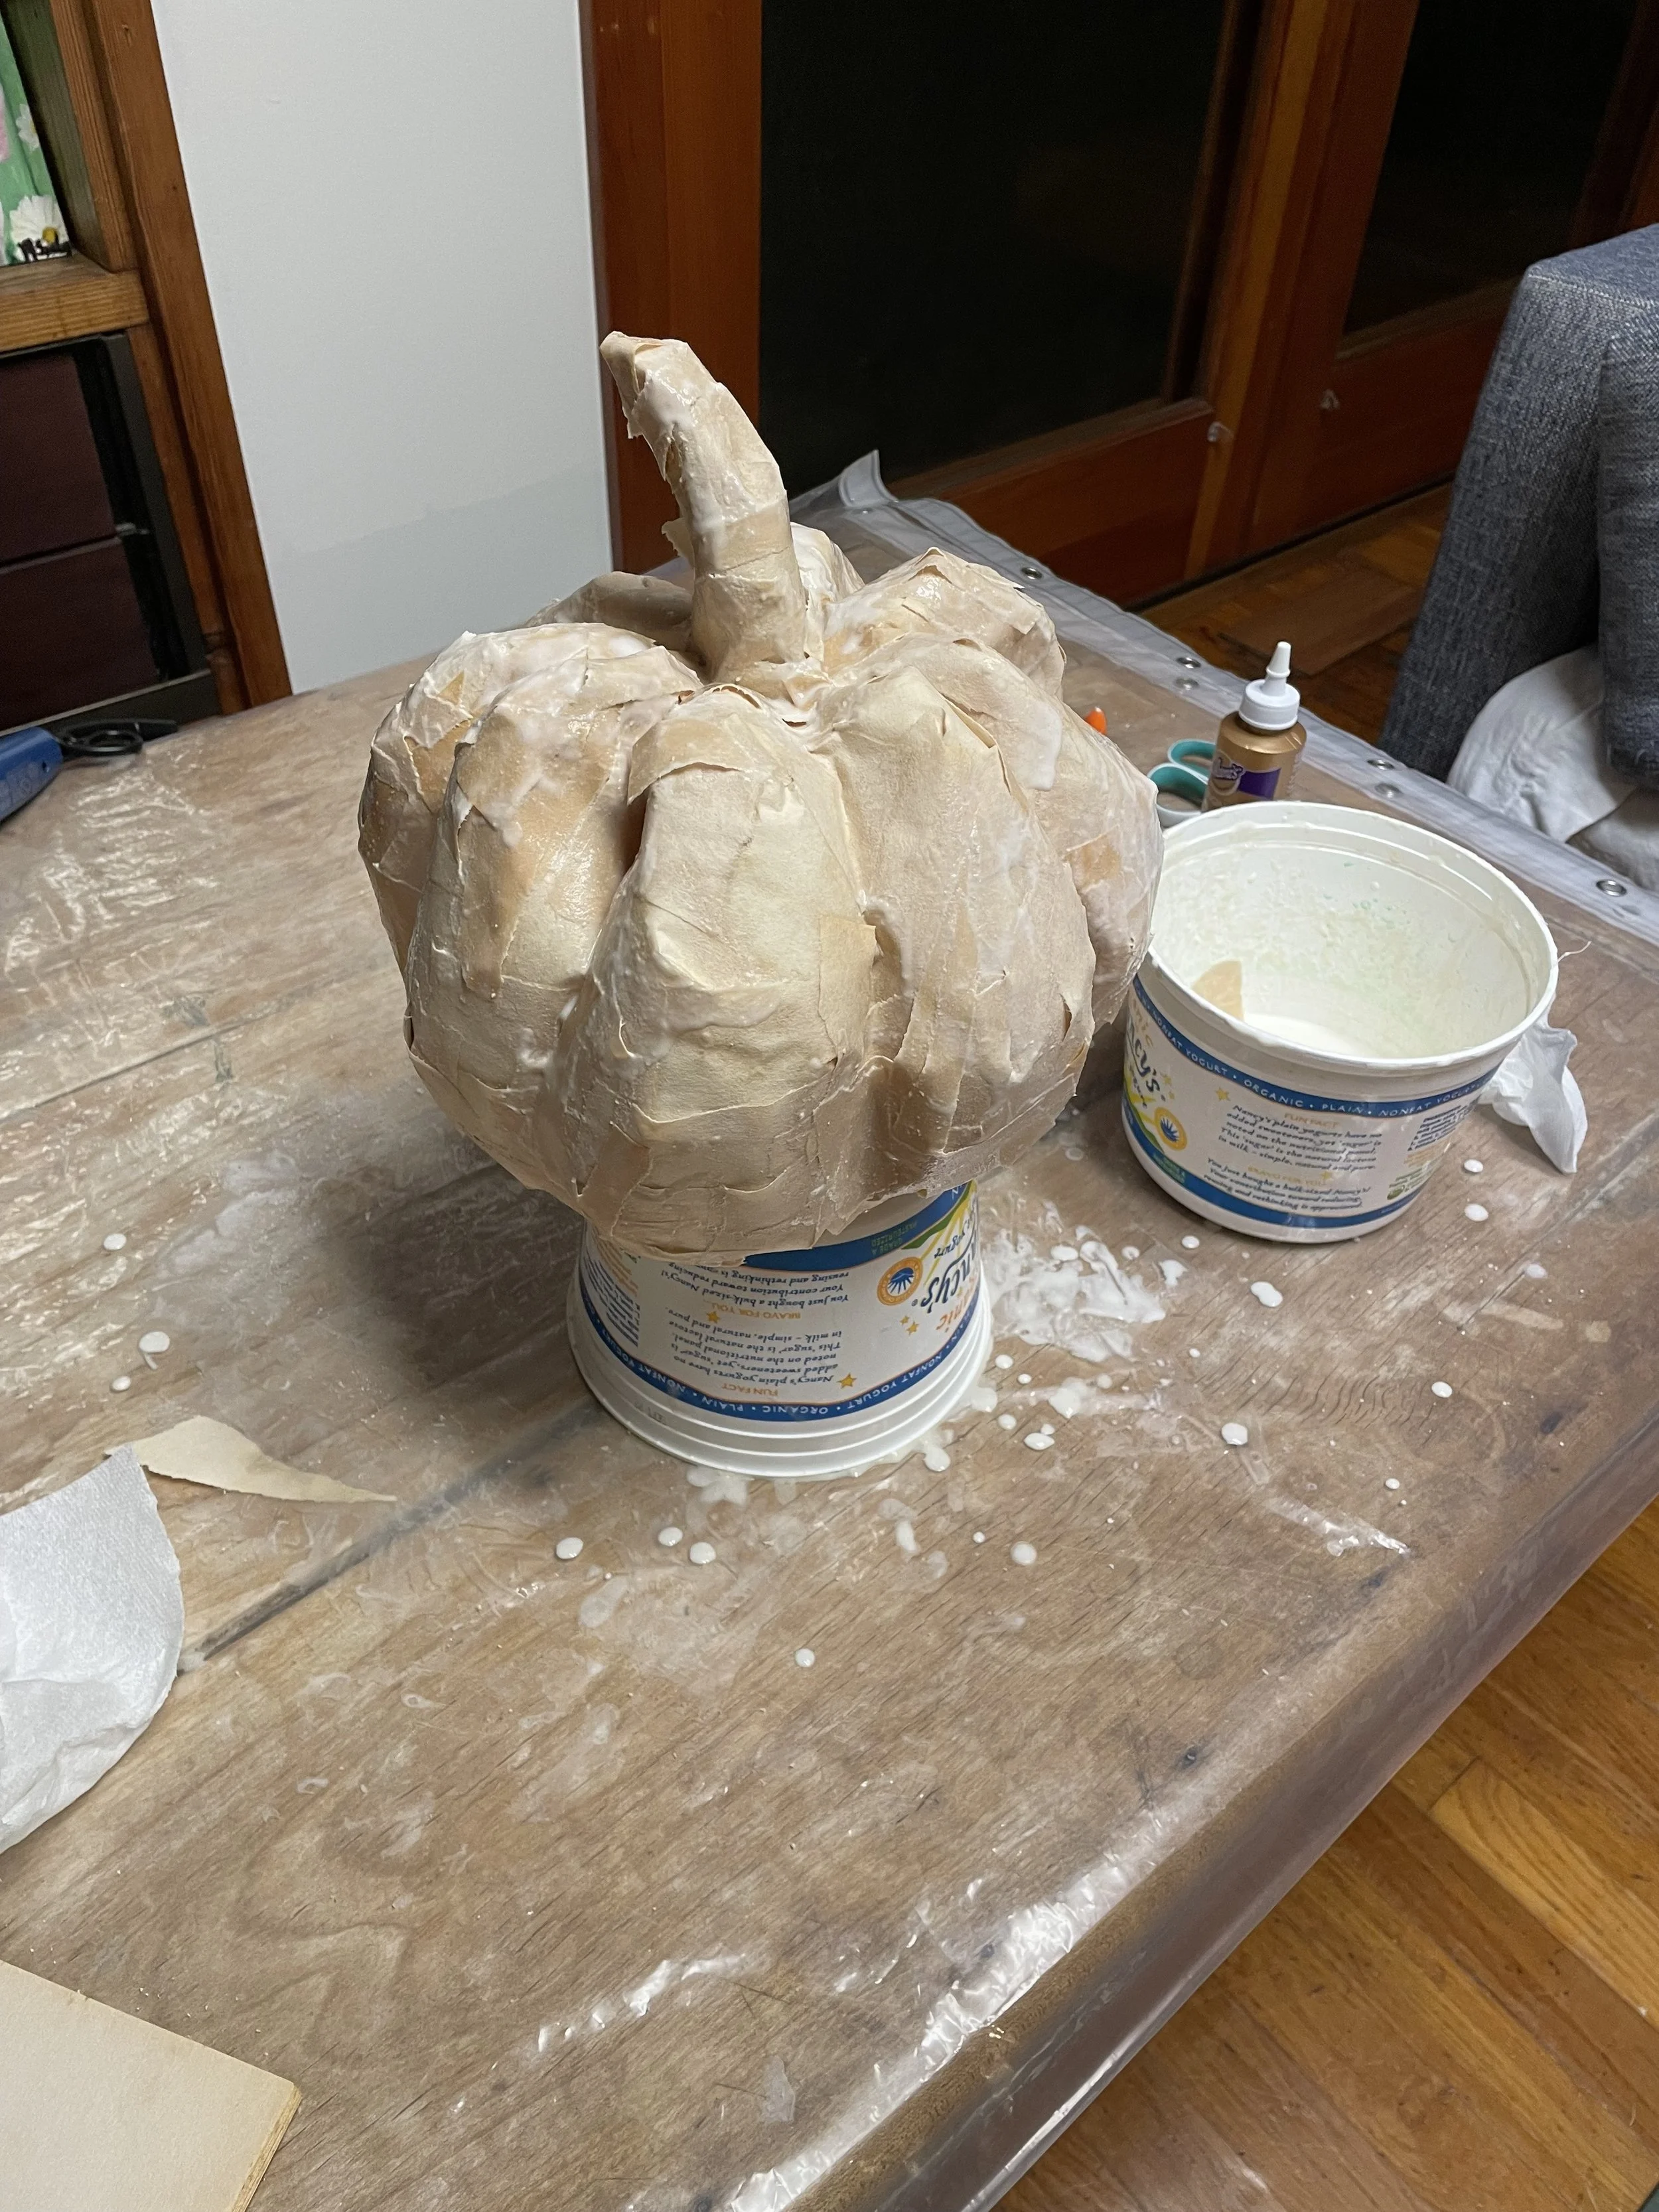
7) I don’t have detailed pictures of this step, but before fully covering the pumpkin bottom, I snipped the strings and the plastic bag at the base and pulled out the pillow stuffing so the pumpkin is hollow. (This is not necessary but I wanted it dry from the inside and be lighter.) Then I paper mached the bottom with a few layers or newsprint and paper towel on top. I used a lot of hot blowdrying to speed up dry time and keep it from collapsing.

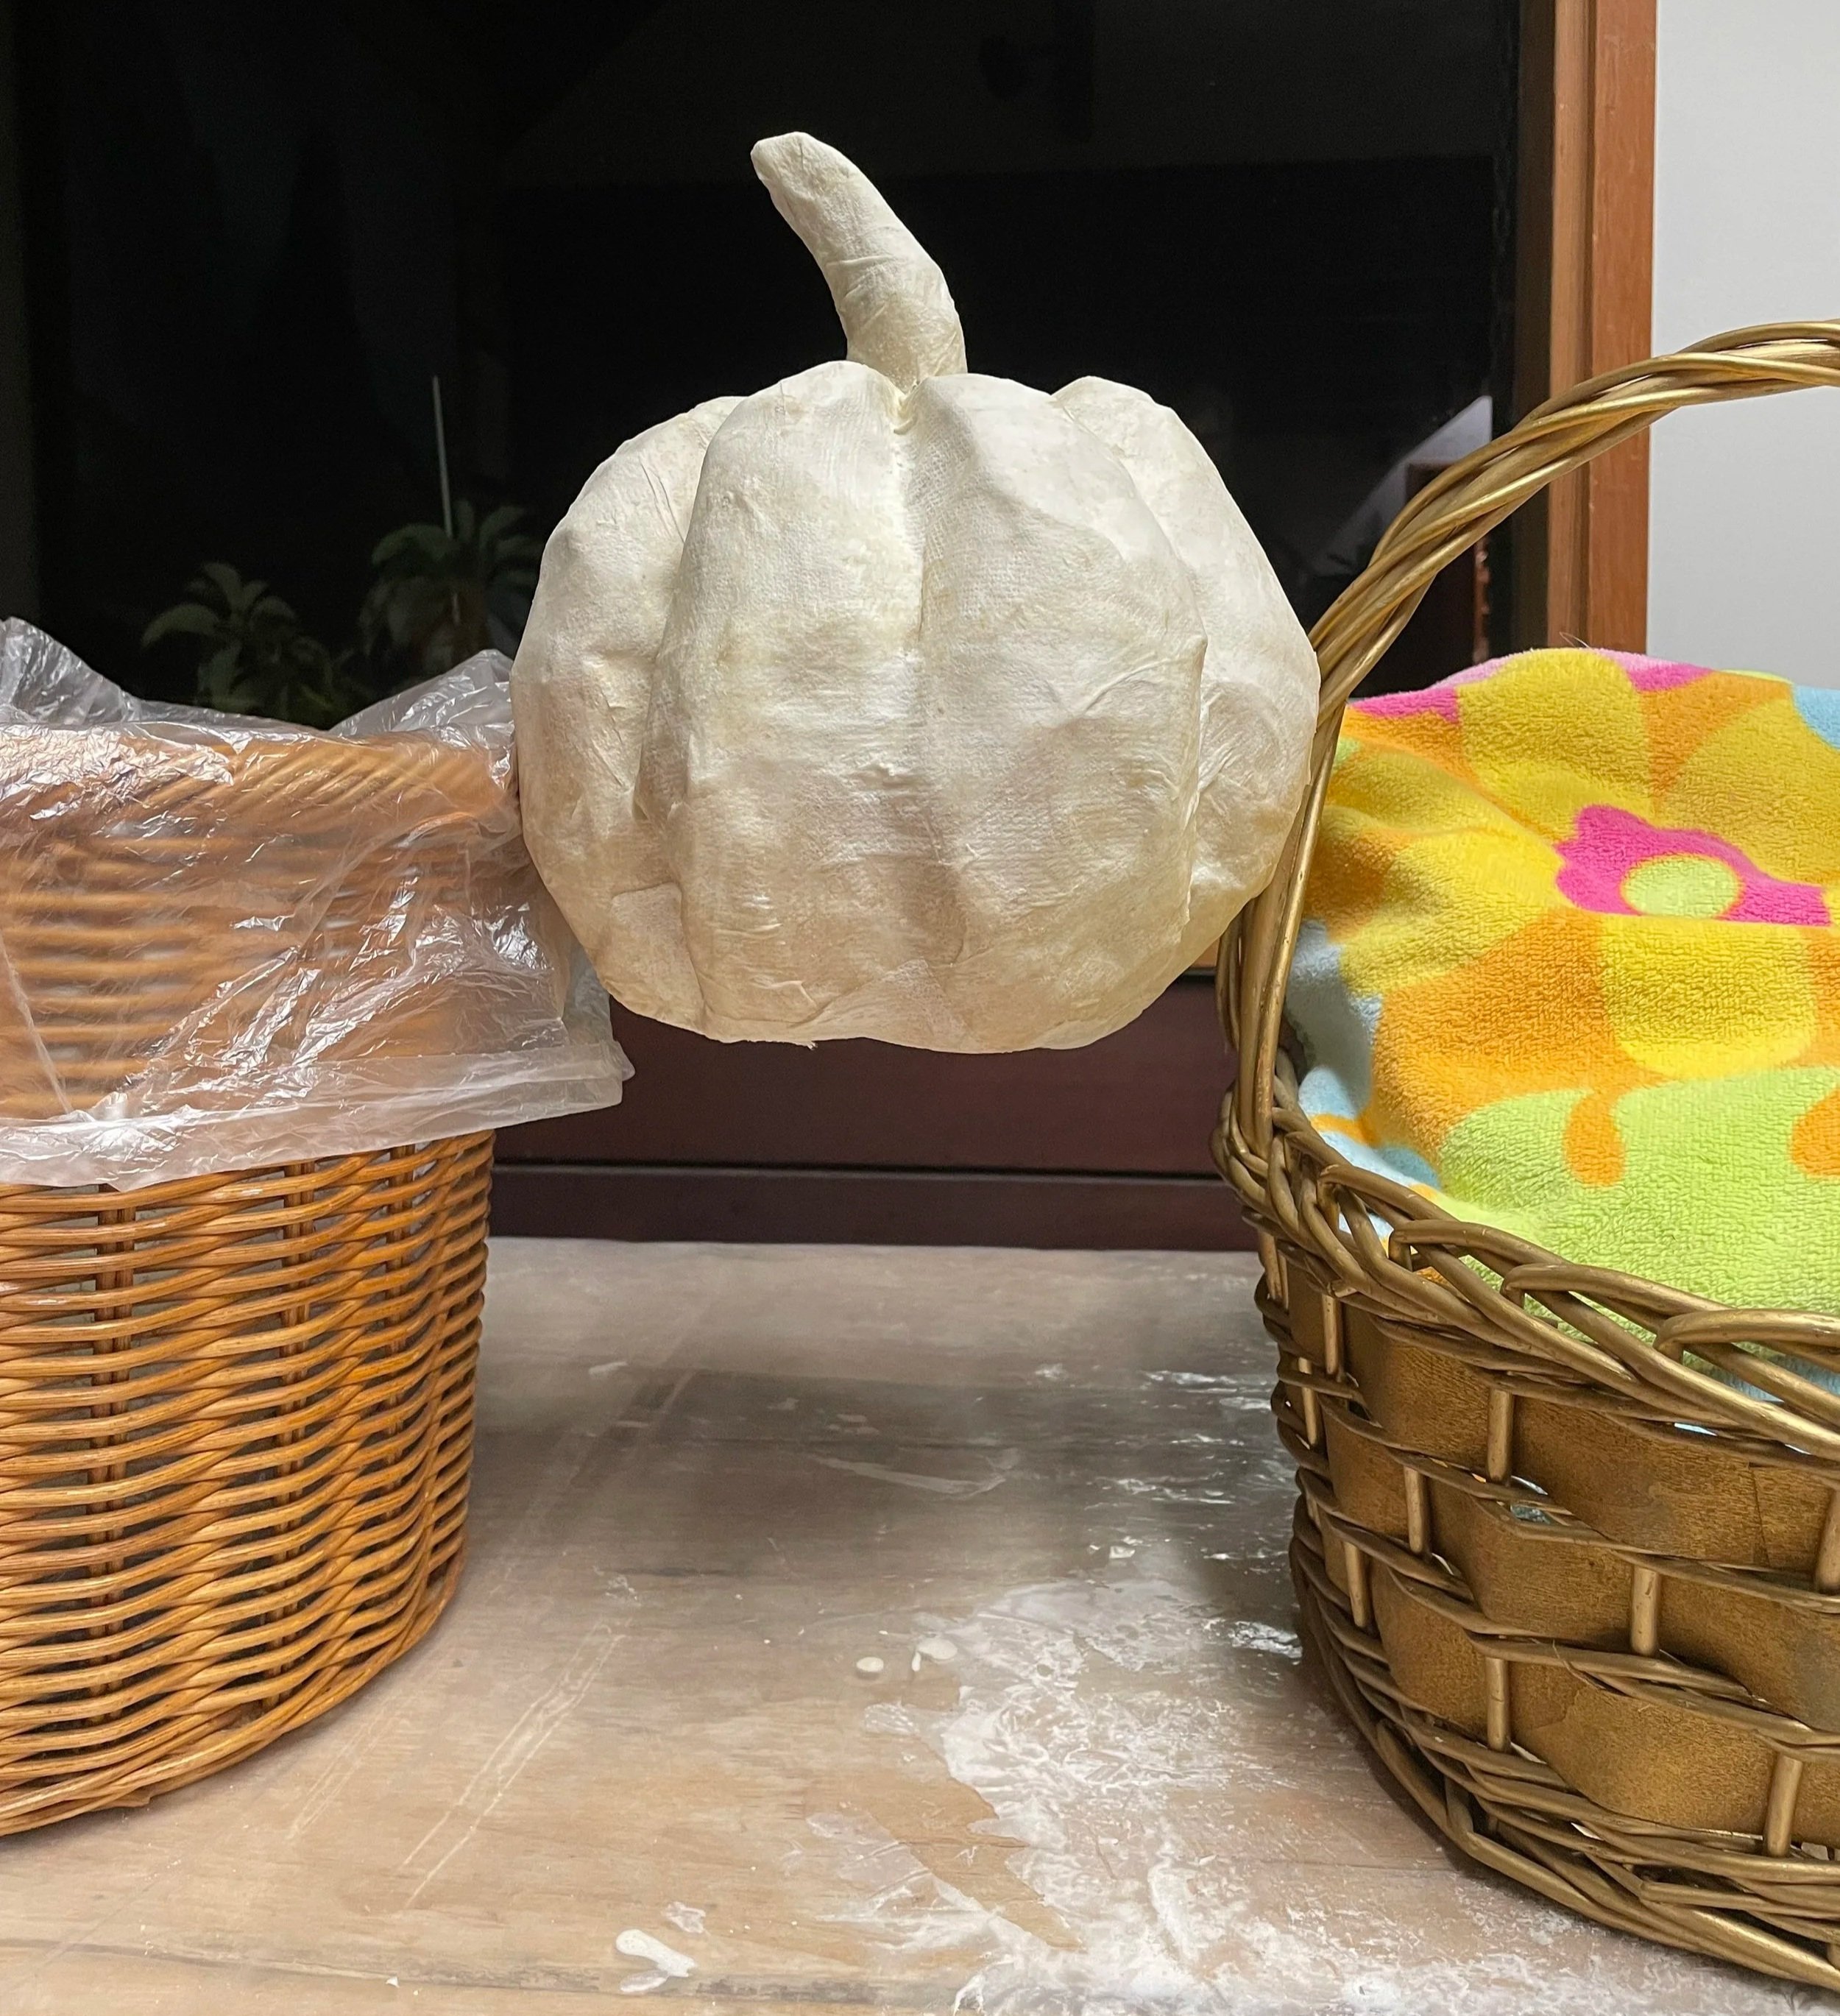
7) I perched the pumpkin in creative ways to allow the bottom and top to get air and dry overnight!
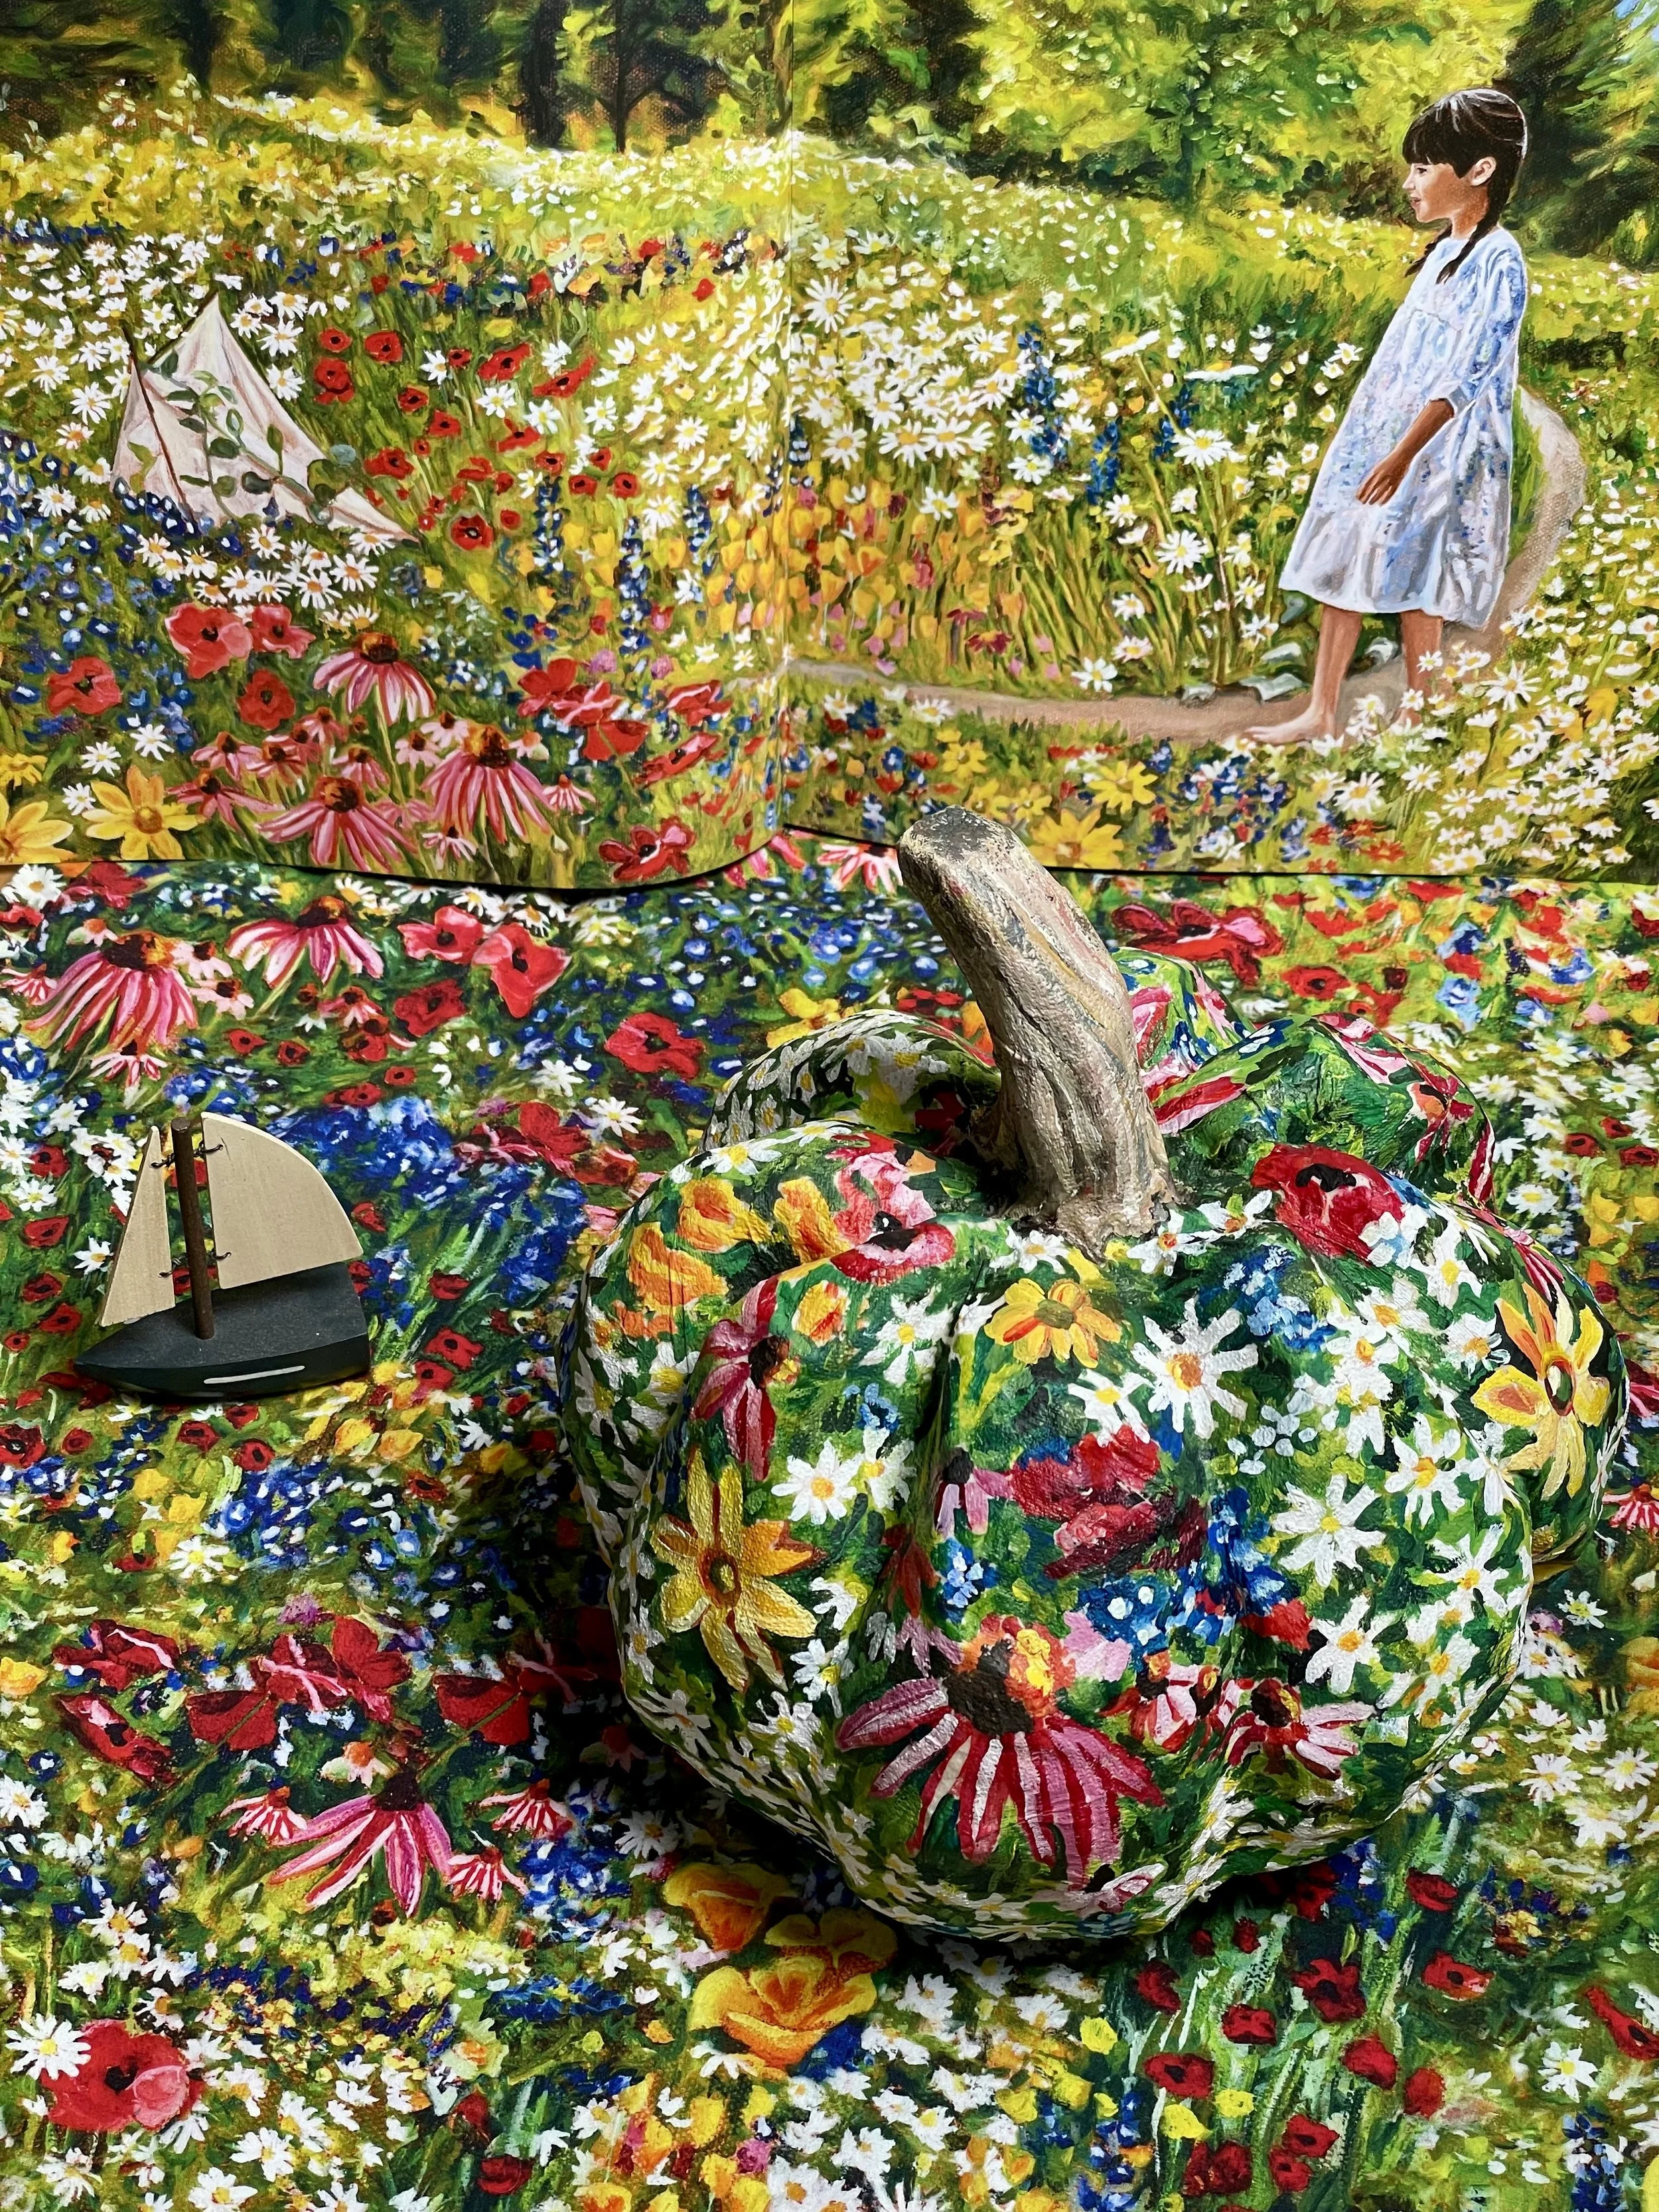
8) I waited a week and then painted it to match my Field of Flowers Textile based on an oil painting from my book, The Girl and the Boat!

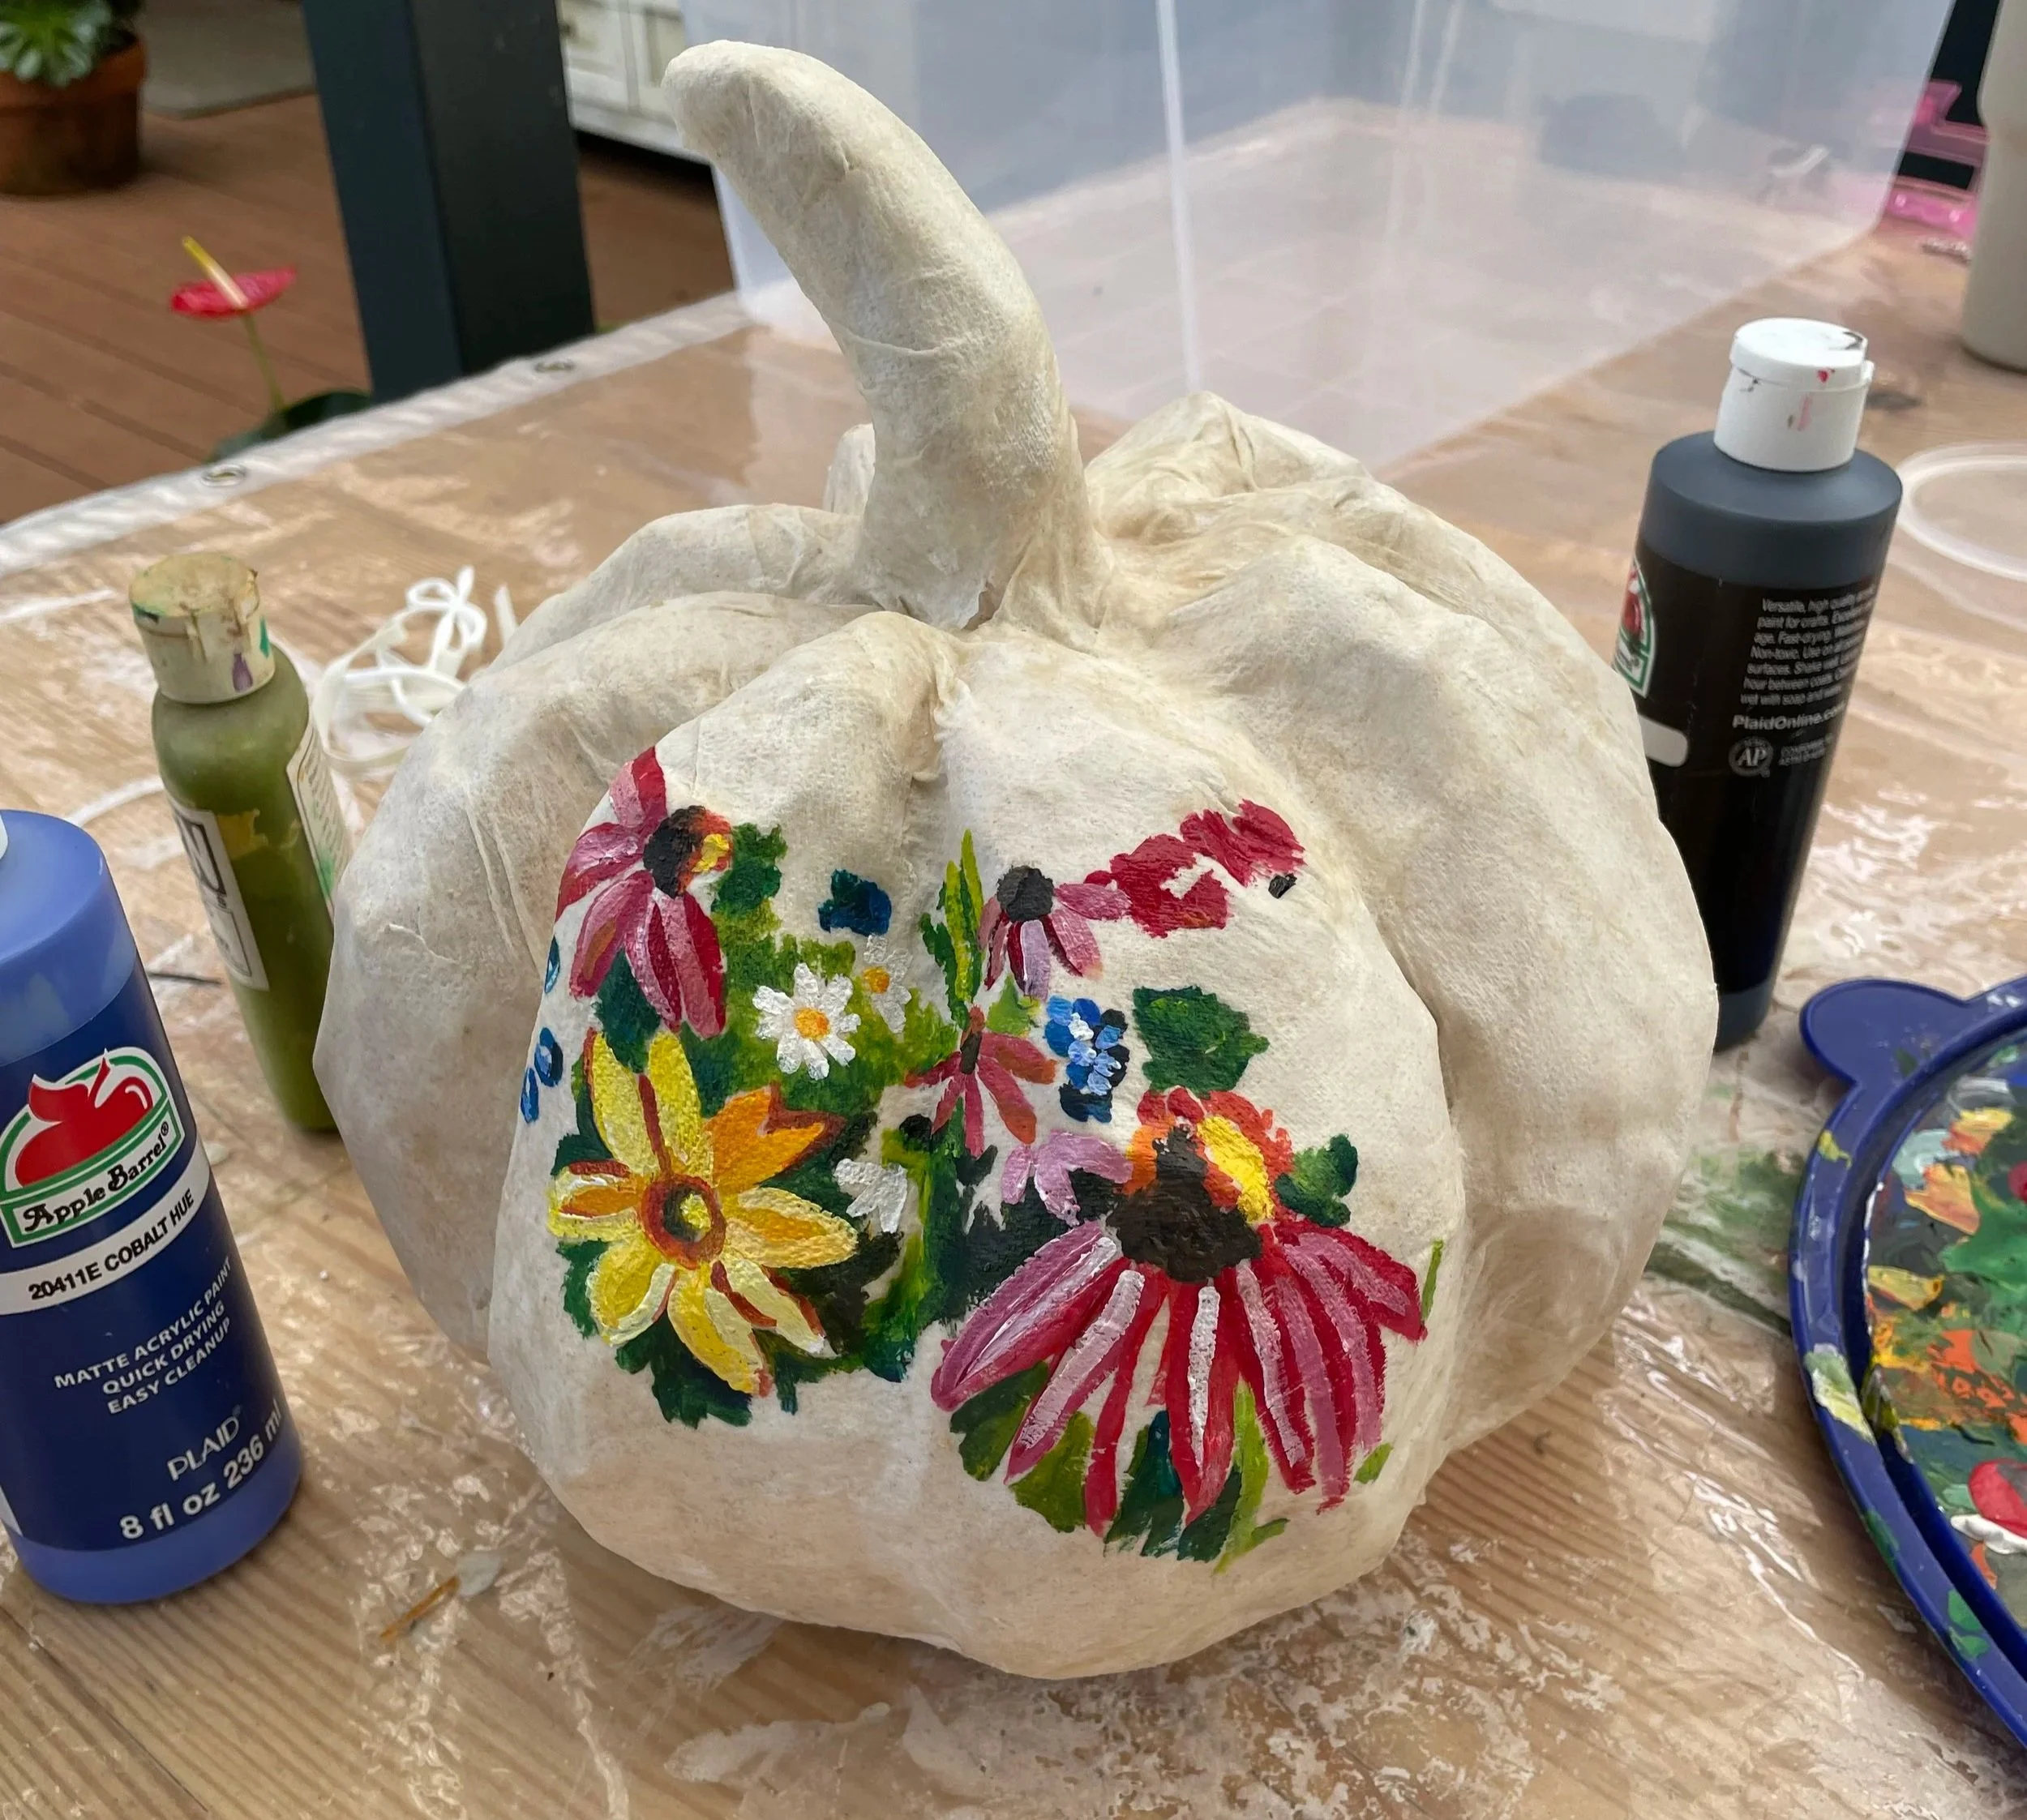
9) Finally I painted the stem to look like a real pumpkin to complete the effect!
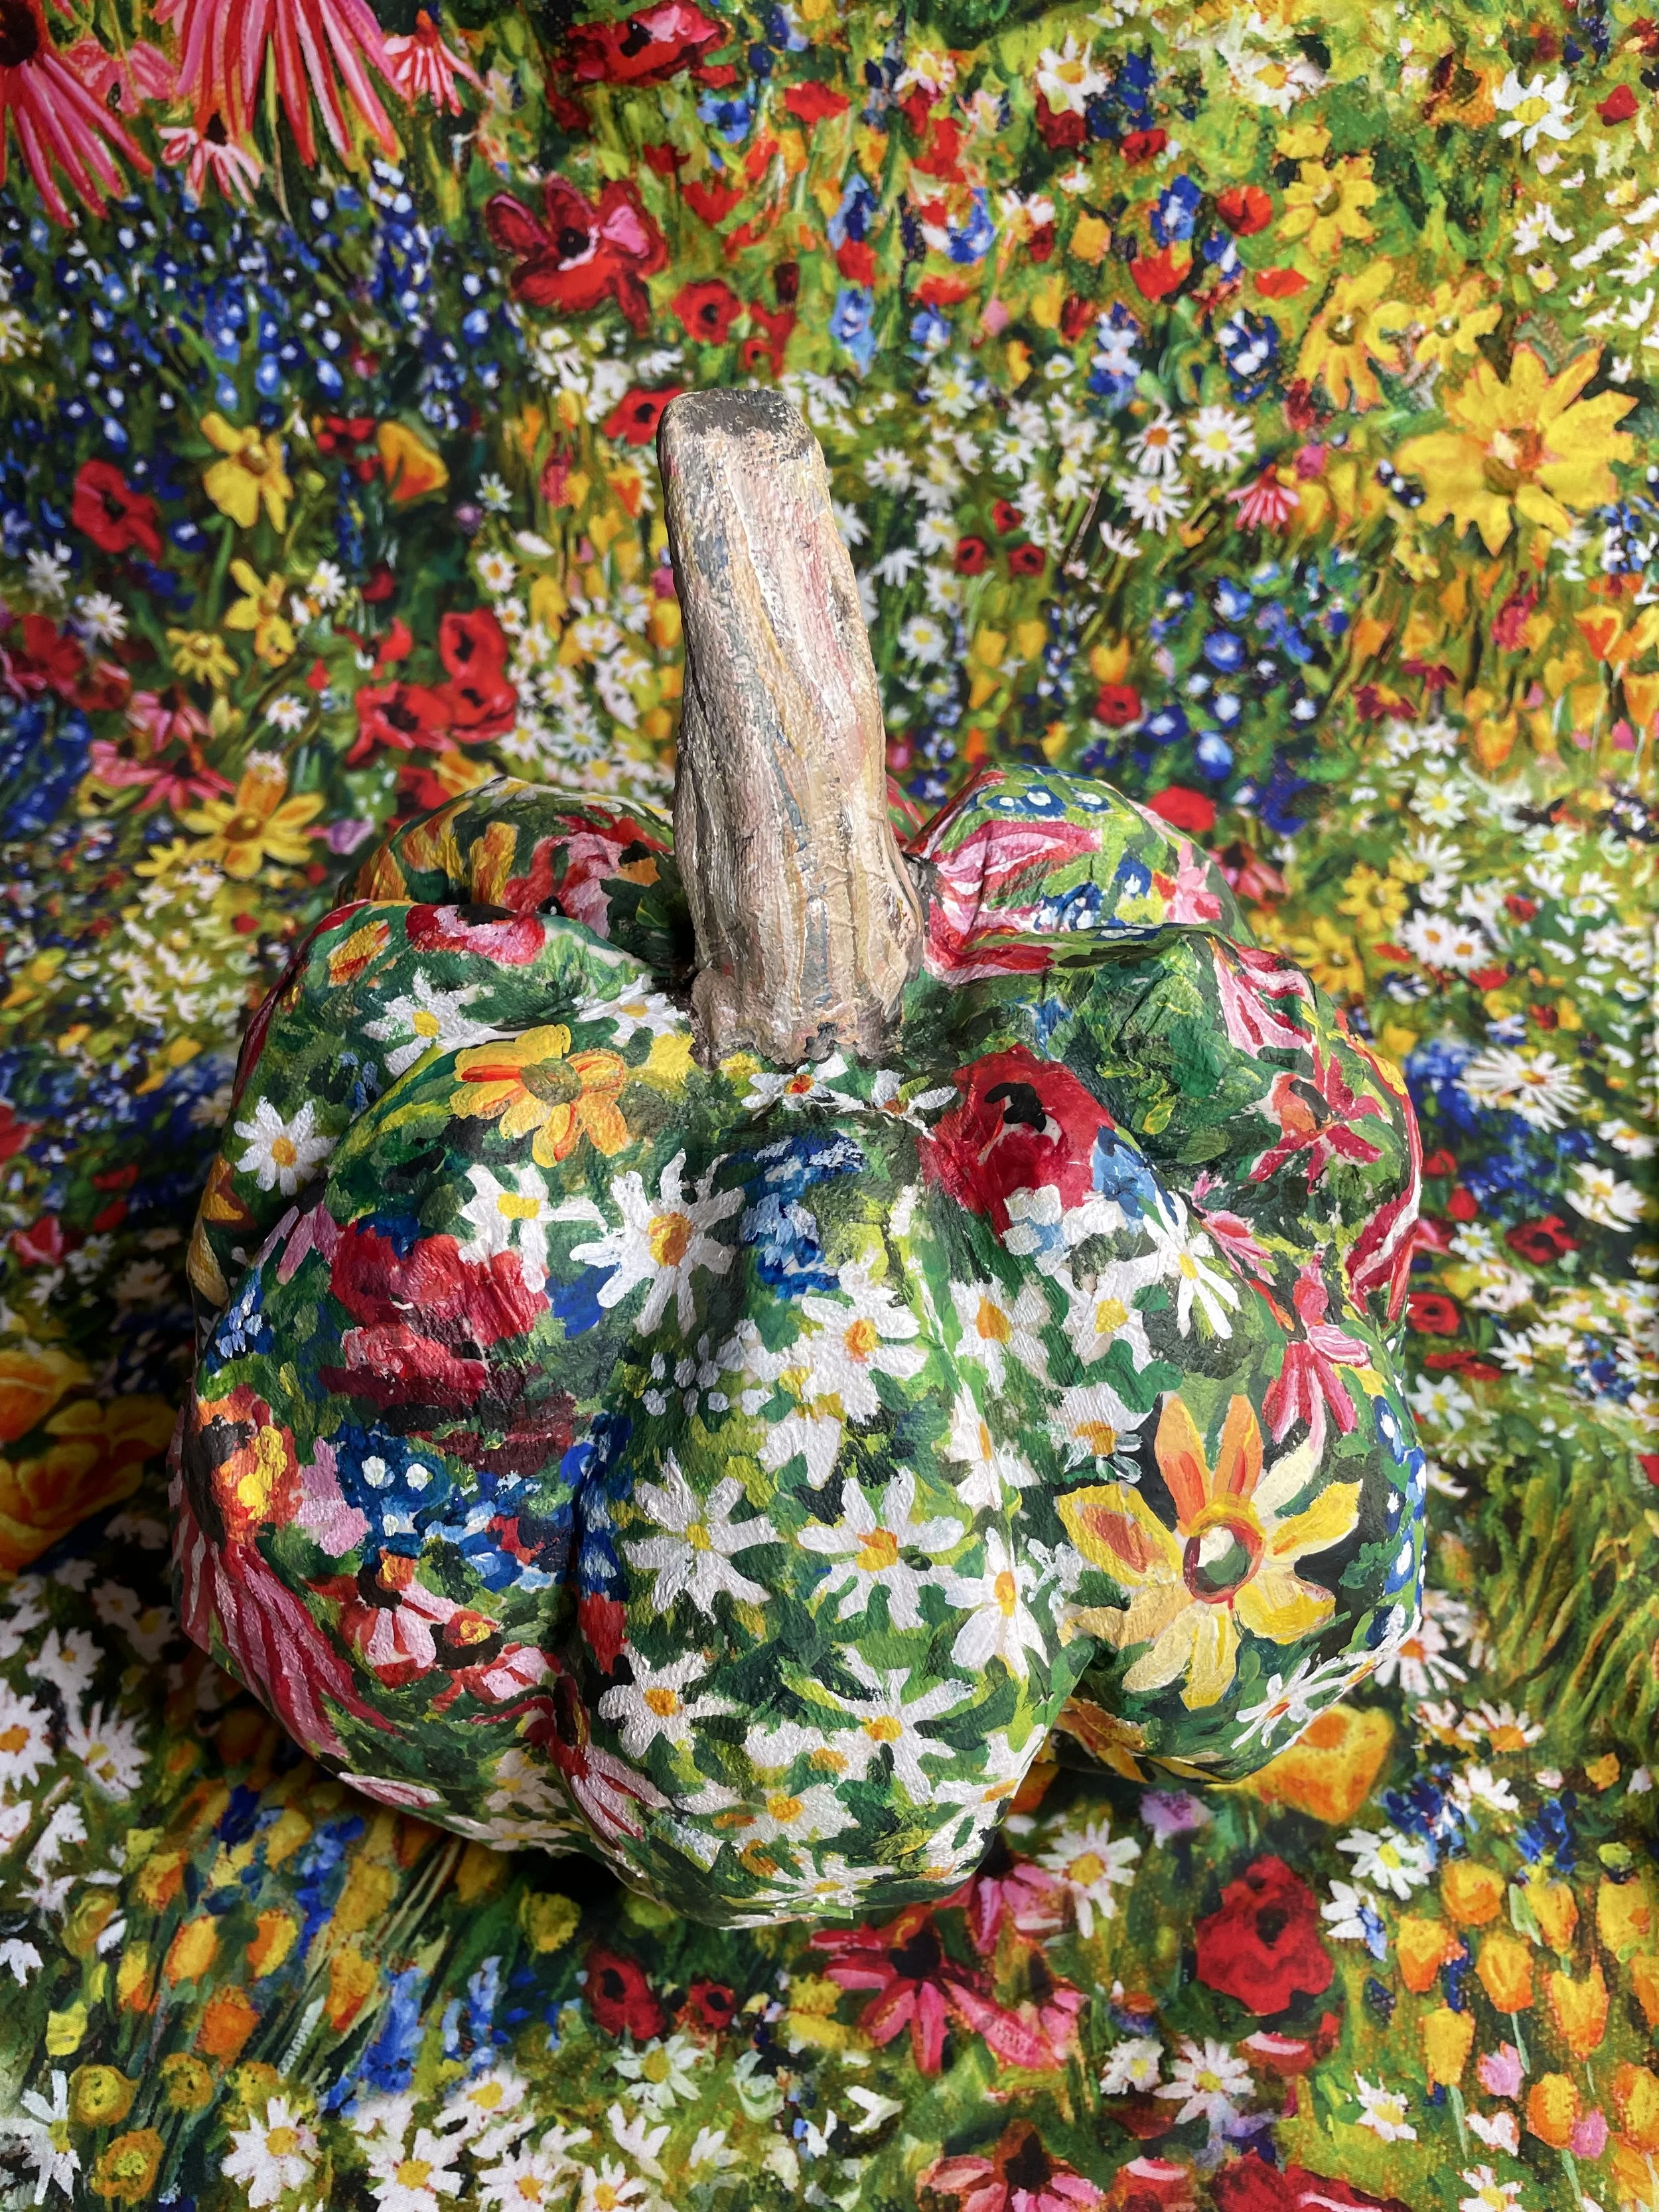
The last step will be varnishing it! I can’t wait to enjoy this pumpkin year after year!
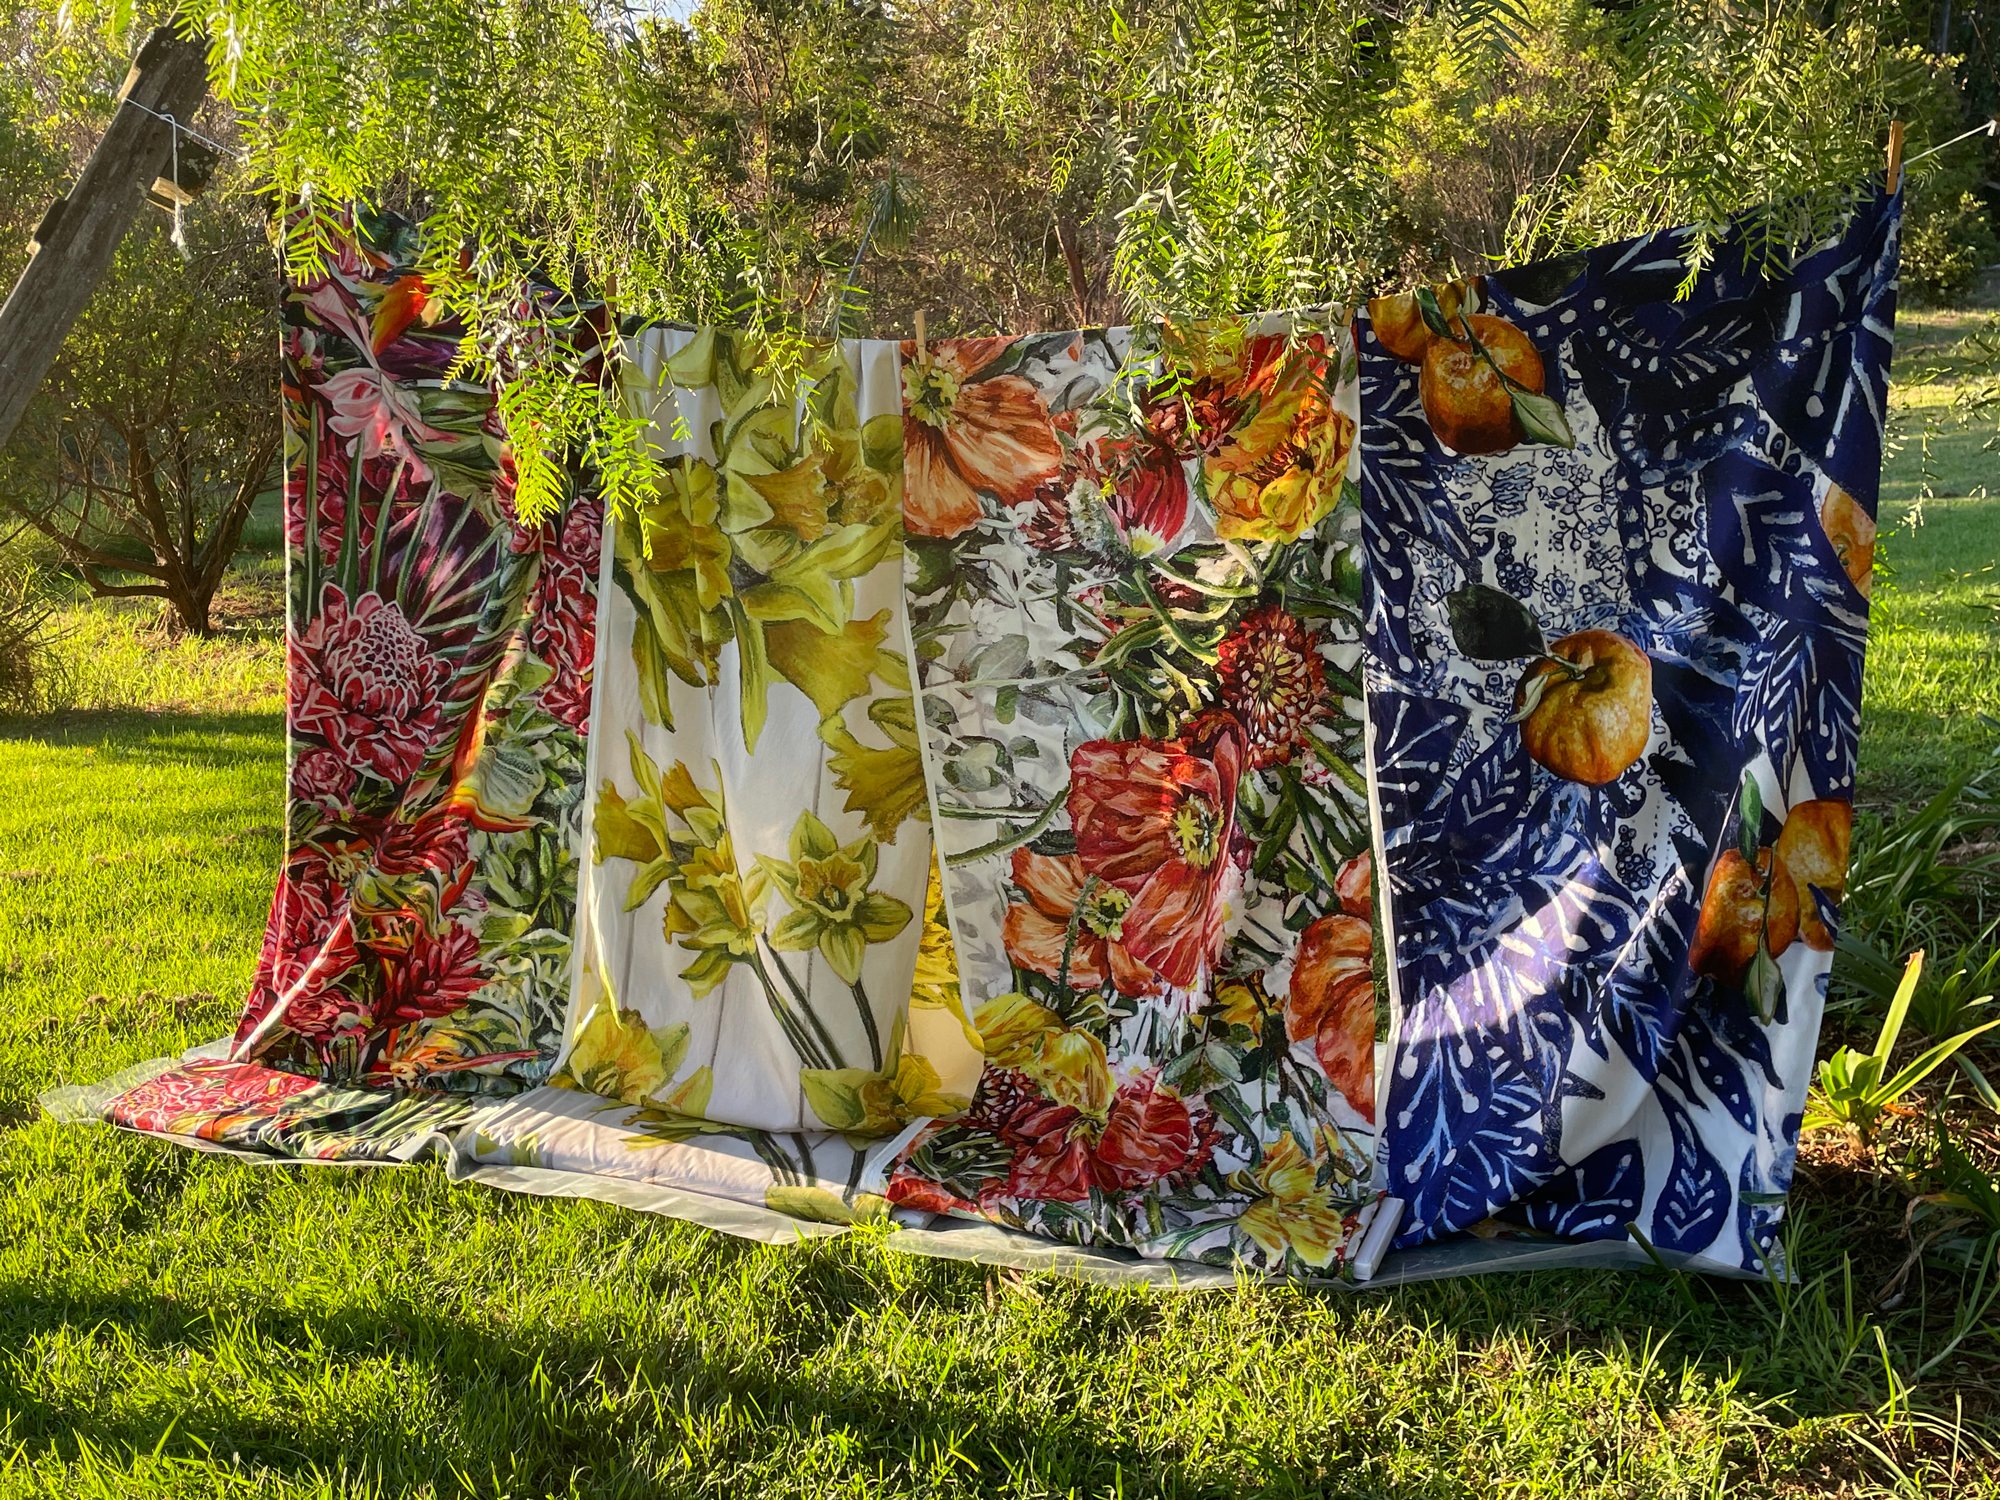
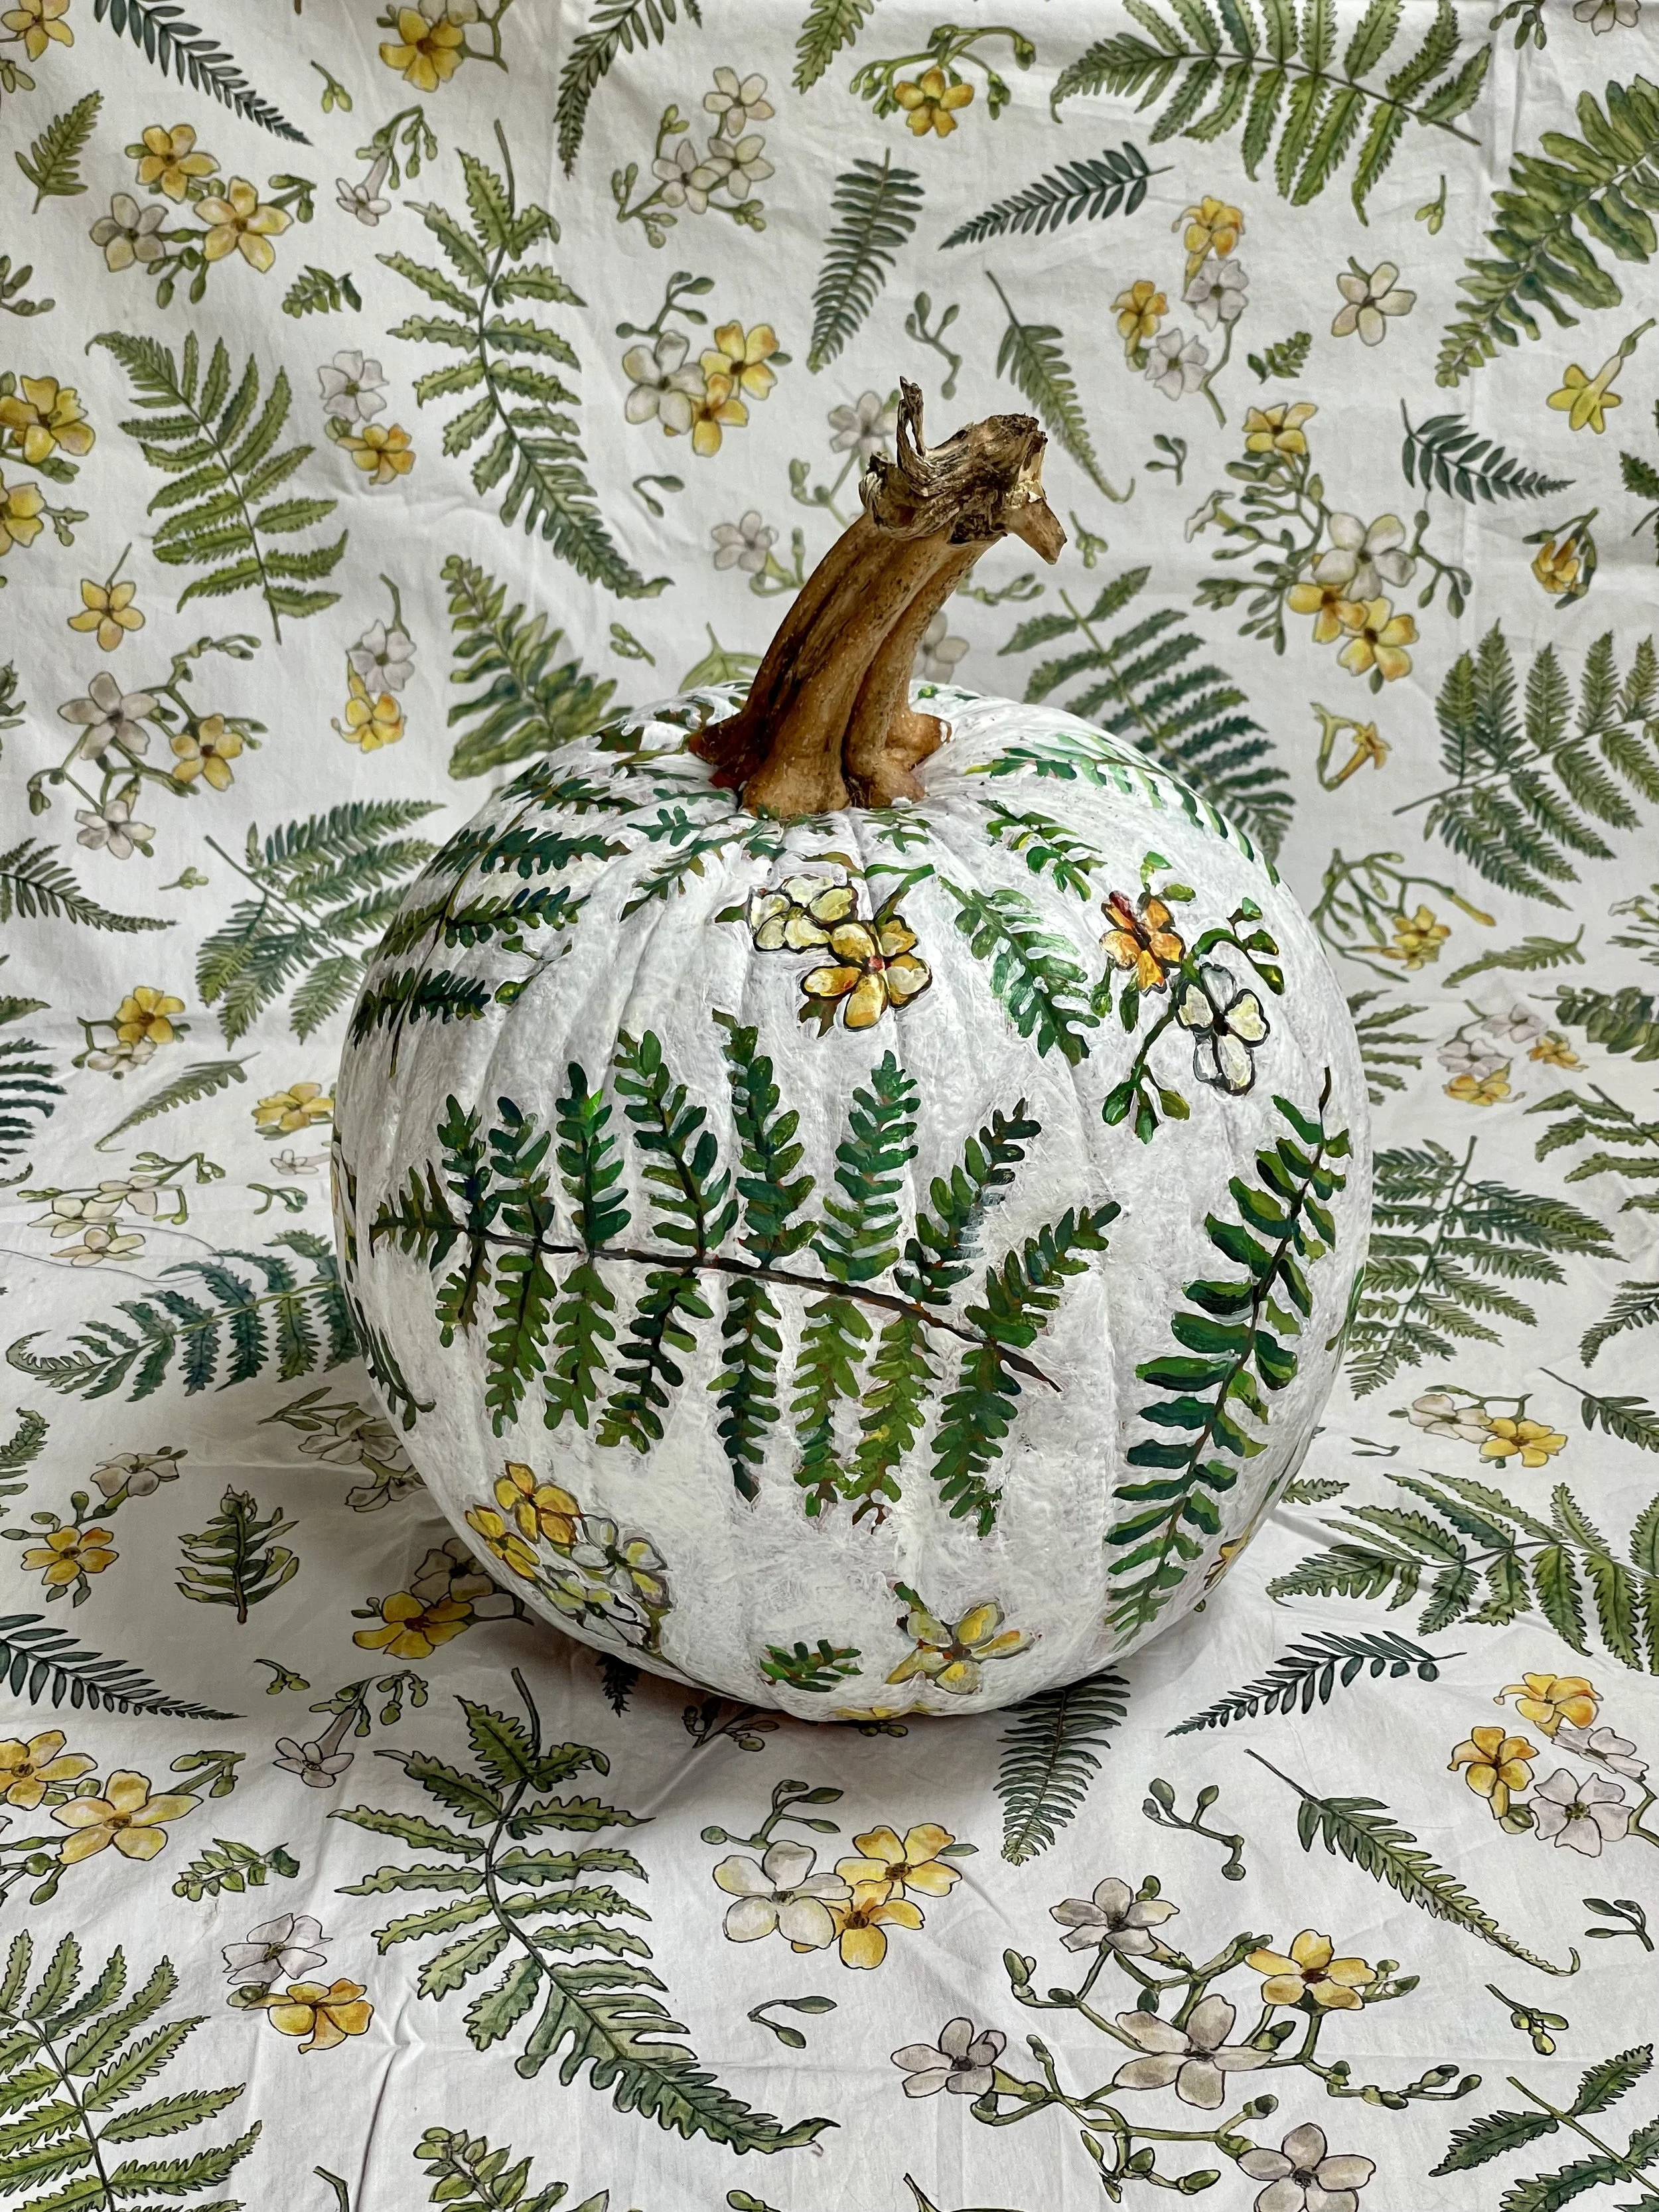
Real pumpkins I have painted over the years below:
Puakenikeni Fern Textile pumpkin
‘Ōhi’a Lehua Watercolor Textile Pumpkin
Poppy Fields Textile and Field of Flowers Textile Pumpkins